Card making Christmas crafts Die cutting How to Papercraft Papercrafter Techniques Projects
What’s better than one wreath-centric festive greeting? Well, three of course. Featured in a recent PaperCrafter Masterclass, this trifecta of Christmassy goodness features techniques that are surprisingly easy to get right, that end up creating something magical.

YOU WILL NEED:
Dies: foliage, holly, snowflakes, circle
Punches: flowers, snowflakes, hole
Stamps, Avery Elle Merriest Sentiments
Patterned papers, Craft Consortium Wood Textures 12” x 12”
Cardstock: red, green, blue, light blue, white
Acrylic paints: black, white
Embossing powder, white
Ink pad, black
LED lights
Gems: silver, red
Tool, shaping
Adhesives: 3D foam pads, glitter glue
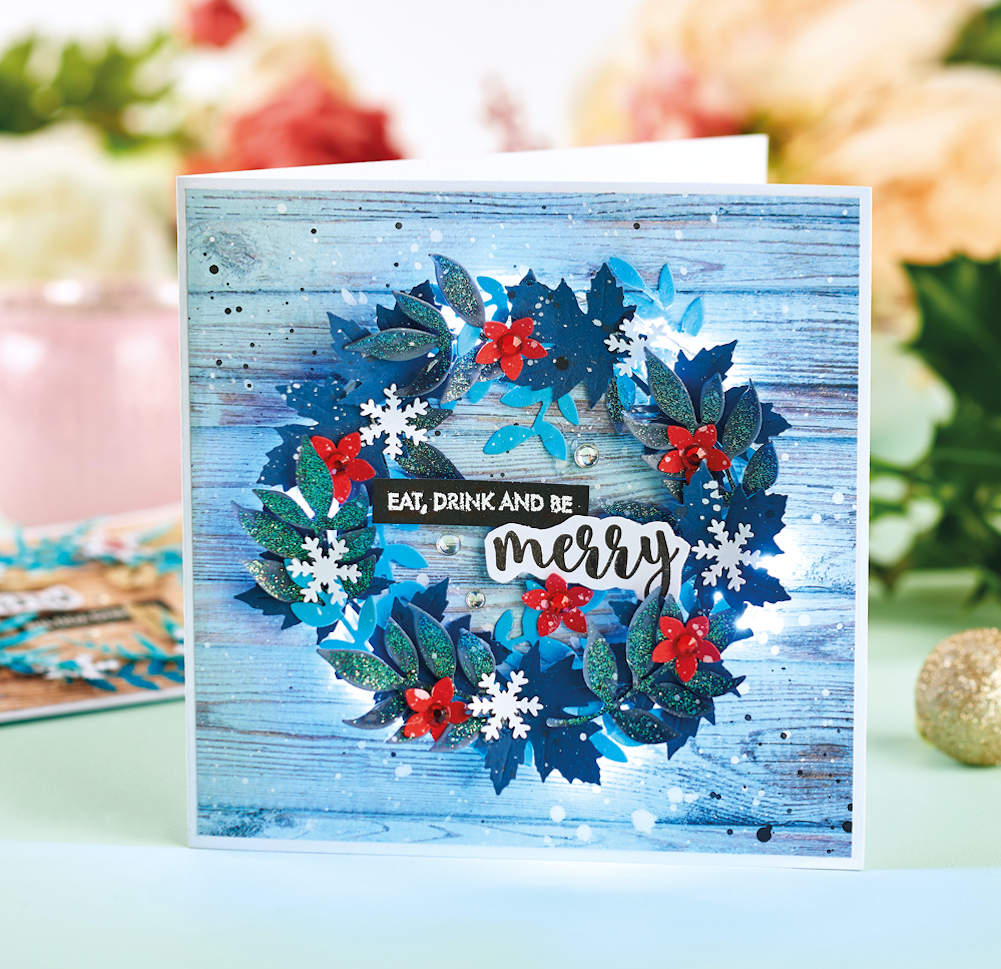
CHRISTMAS LIGHTS

1. Trim blue wood effect paper to 13.5cm square. Dilute black and white acrylic paint with water, then splatter over the panel. Leave to dry. Mount onto a white blank. Place a circular die in the centre, then draw around it in pencil.
2. Punch a hole through the bottom-right of the circle. Thread LED lights through the hole and fix the battery pack to the reverse of the card front. Wrap the lights around the circle, then secure in place.
3. Take blue and light blue card, then splatter with paint. Leave to dry. Die cut different types of foliage from each panel and add glitter glue to several of the leaves.
4. Shape the foliage before arranging into a wreath around the circle outline, then adhere. Punch red flowers and white snowflakes, then secure on top. Add a gem to the centre of each flower.
5. Stamp ‘Eat, drink and be’ onto a strip of black card and emboss with white embossing powder. Stamp ‘Merry’ onto white card in black ink, then cut out. Fix both onto the card front with 3D foam pads, then embellish with silver gems to complete.
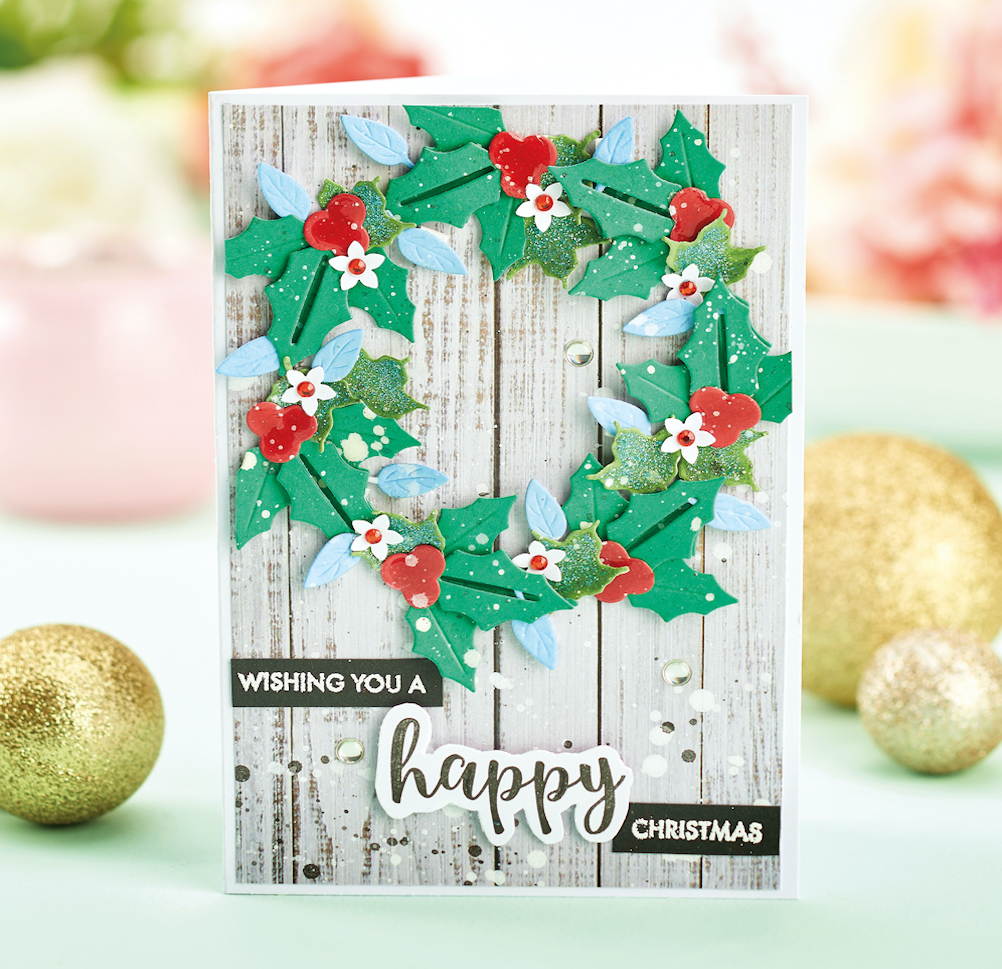
HOLLY WREATH

1. Make a 10cm x 15cm white blank. Follow the step-by-step opposite to create a wreath centrepiece. Punch small flowers from white card and adhere to the foliage. Add a red gem to the centre of each flower.
2. Stamp two parts of a sentiment onto black card, emboss with white embossing powder, then trim into two thin strips. Stamp ‘Happy’ onto white card with black ink, then cut out. Fix towards the bottom with 3D foam pads, then add the other words. Embellish with gems to finish.
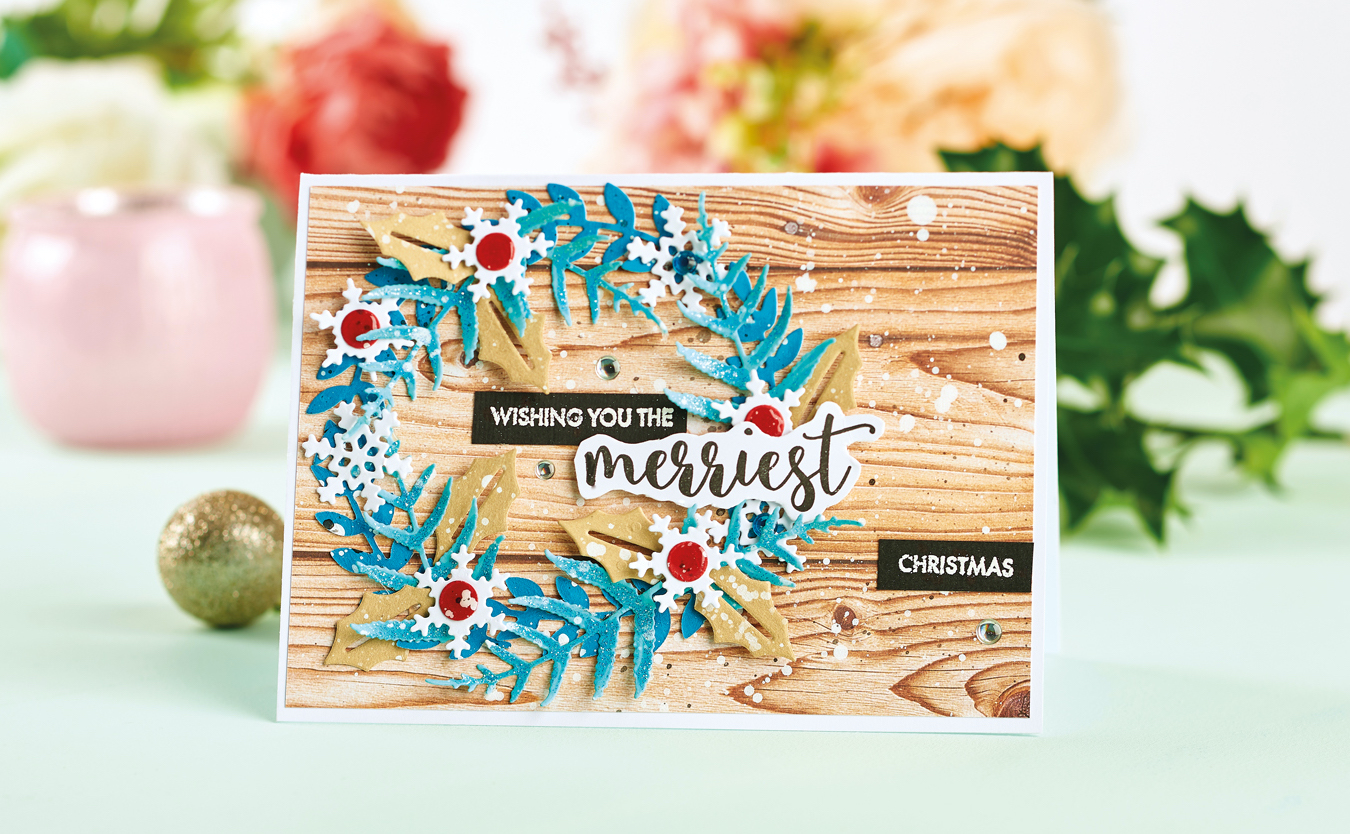
LANDSCAPE DECO

1. Snip wood effect paper to 9.5cm x 14.5cm. Splatter with diluted acrylic paint in black and white, then leave to dry. Mount onto a top-folding white blank. Draw a large circle towards the left-hand side of the greeting.
2. Take card in beige, turquoise and green, then splatter with white paint. Leave to dry, then die cut foliage and leaves, adding glitter glue in places. Shape the die-cut elements, then fashion into a wreath. Embellish the card front with gems.
3. Punch snowflakes from white card and adhere to the foliage, adding gems and punched circles to the centres. Stamp two parts of a sentiment onto black strips and emboss with white embossing powder, then adhere. Stamp ‘Merriest’ onto white card, cut out and fix in place.

YOU WILL NEED:
Old books
Die, circle
Wooden skewer
Binder clips
Alcohol marker, orange
Adhesives: PVA glue, glue stick
Die-cutting machine

METHOD:
1. Use a circle die to cut lots of discs from book pages. Fold each circle in…
Halloween crafts Home decor Home decorations How to Papercraft Papercrafter Revamping Techniques Projects

Whilst this may look like a paper cutting that took hours to create, it really couldn’t be any easier. Our talented designer Corinne Bradd has created 15 templates for you to…
Die cutting Home decor Home decorations How to Papercraft Papercrafter Projects

You Will Need:
Templates or SVG files
Brother ScanNCut SDX1200 (optional)
Strong card
Cardstock, various colours
Jute yarn
PVA glue
Autumnal Display
1. Draw a 25cm wide circle on strong card, then draw a concentric 17cm wide circle…
Home decor Home decorations Papercraft Papercrafter Techniques

Shadow box cards, otherwise known as tunnel greetings or diorama cards, are designed to transport the recipient to picture-perfect backdrops in an instant. In this case, PaperCrafter designer Francesca Vignoli…
Birthday crafting Card making Die cutting How to Stamping Techniques Card Making
NO SPAM
Just pure crafty goodness!
YOU CAN REGISTER WITH US TODAY OR CHECK OUT THE MEMBER BENEFITS YOU CAN GET YOUR HANDS ON

Not only will you receive our amazing newsletters packed with the latest projects, exclusive giveaways and freebies, you’ll also get your hands on all of this...
View the benefits
All of our offers will be delivered straight to your inbox - they’re only a click away!
Show me the next benefit...
Get access to loads of free printables and downloads at your fingertips.
Show me the next benefit...NO SPAM
Just pure crafty goodness!
NO SPAM
Just pure crafty goodness!


