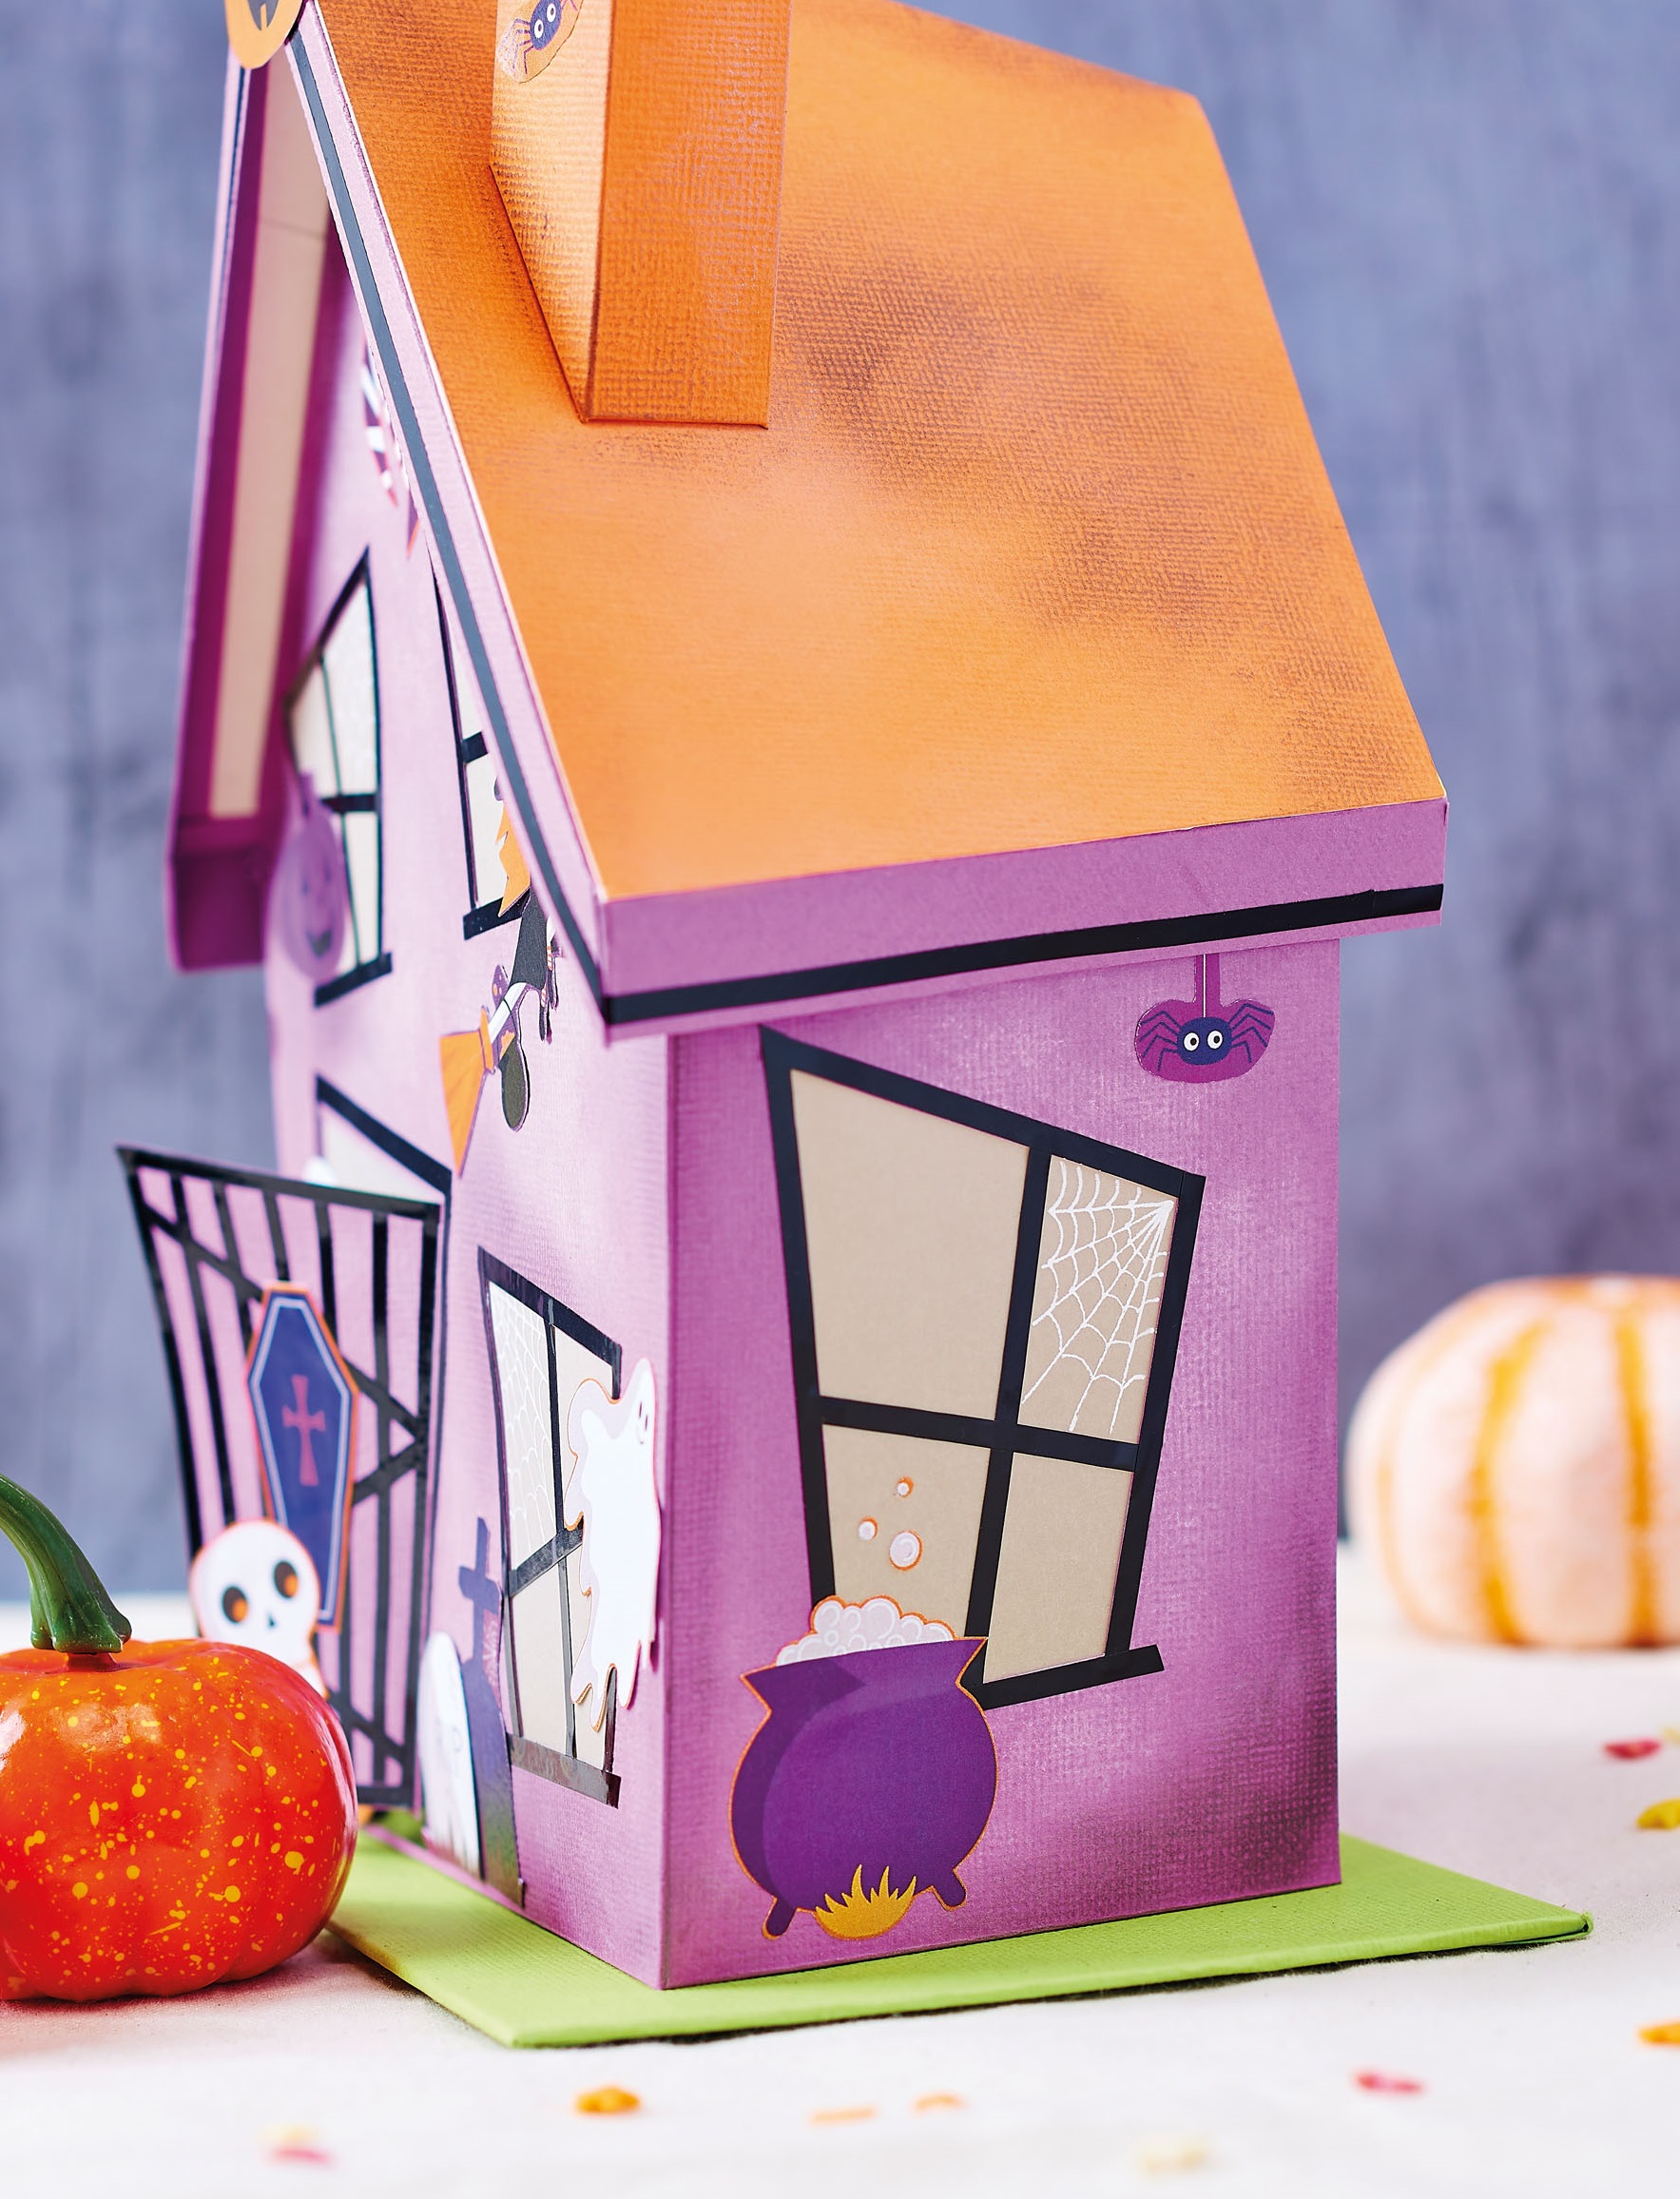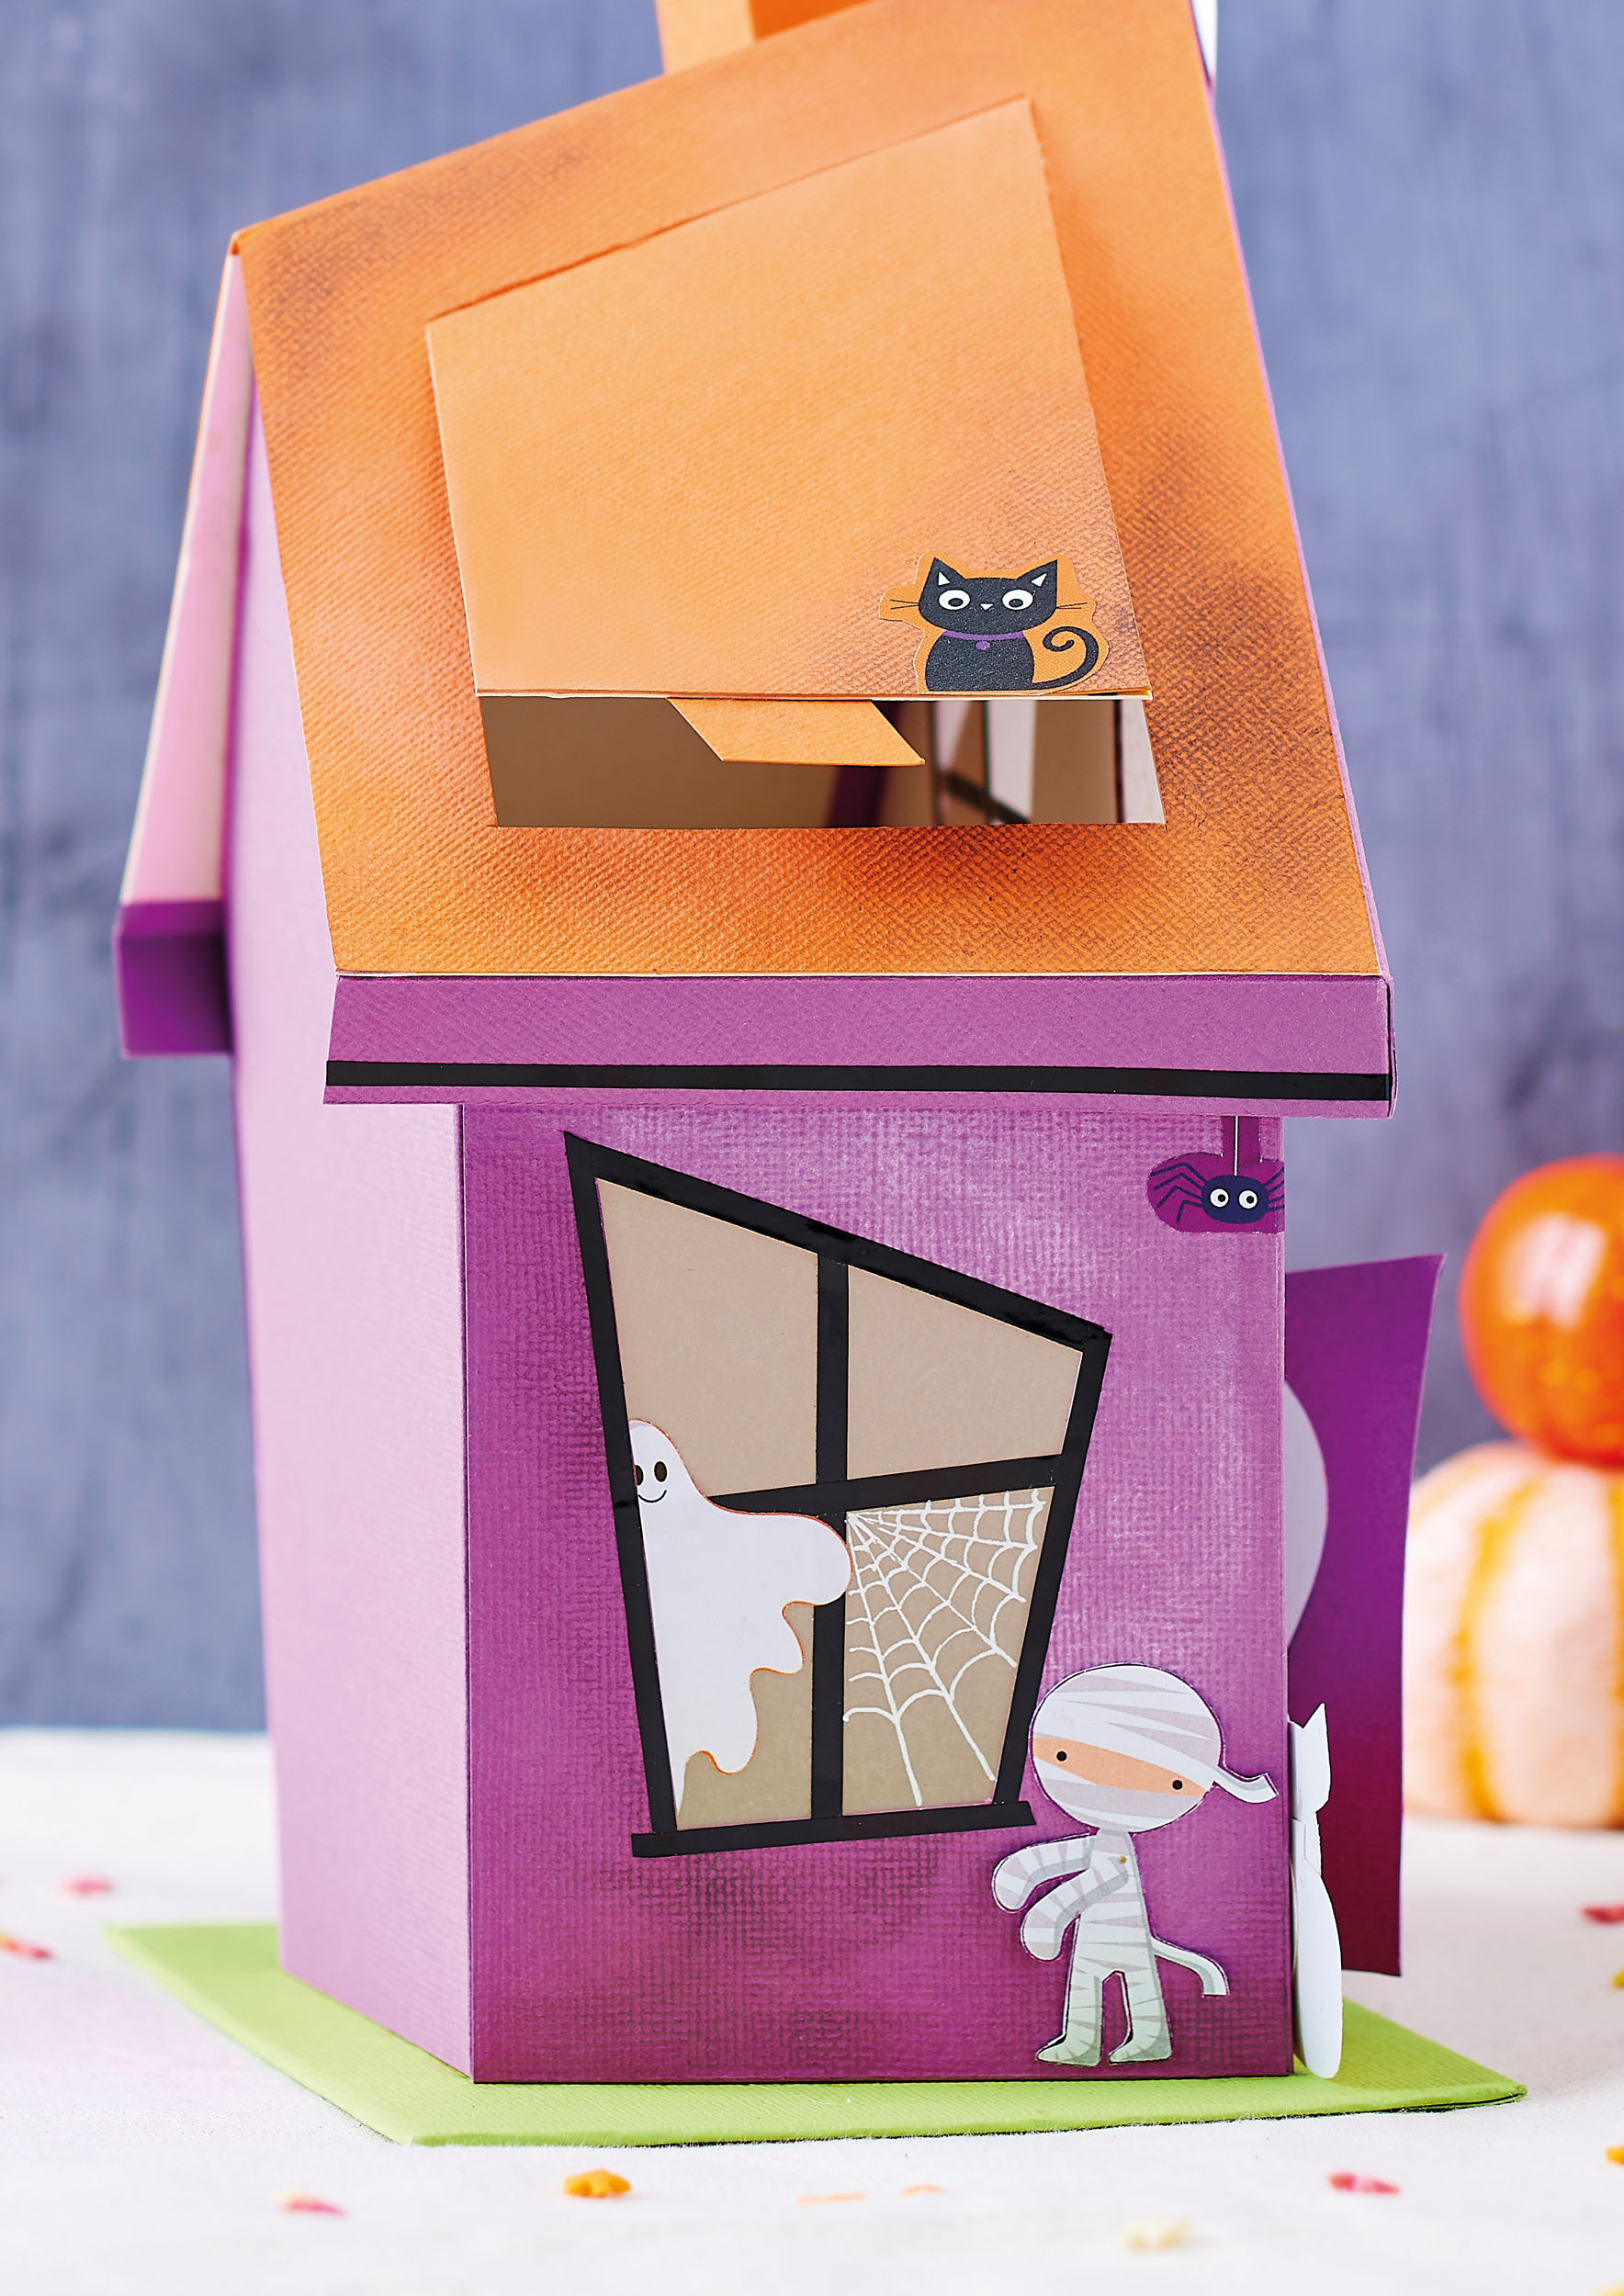
Learn to make a haunted house decoration for Halloween – easy-to-follow templates and a touch of thriftiness, what’s not to like?

Please login to download. Sign in here
There is so much to love about this Halloween project – and, thankfully, not a whole lot to be scared about! The spoopy motifs come courtesy of a digital PaperCrafter collection, then the rest of the materials you’ll likely have in your stash… or the kitchen cupboard. Make sure you use a decent glue so this Halloween staple stands the test of time.

YOU WILL NEED:
Templates
Halloween papers
Cardstock, various colours
Cereal box
Greyboard, A5
Self-adhesive black vinyl sheet or narrow black washi tape
Vellum
Chalk pastels: black, white
Gel pen, white
Adhesives: glue, 3D foam pads
METHOD:
1. Using the templates from our website, cut a house front, back and sides from purple cardstock. Trace the window apertures onto the reverse and cut out with a craft knife. Score along the dotted lines and fix the sections together with the side tabs, but leave as a flat shape to decorate. Trim pieces of vellum 2cm larger than the apertures and glue to the back of each window.
2. Cut the front, back and side pieces again, this time from scrap card such as a cereal box, then trim away the tabs and 2mm from each edge and aperture. Glue to the back of each panel to stiffen the house, without interfering with the score lines.
3. Turn the house over and distress the cardstock by rubbing black and white chalk pastels onto the surface, making the card darker at the edges. Cut black vinyl sheet into 3mm wide strips and use these to create window frames, placing the centre crosses first and covering the ends with the outlining frames. Alternatively, use narrow black washi tape.
4. Use a white gel pen to draw spiderwebs in some of the window panes. Add strips of vinyl to the door to represent planks. Cut out Halloween motifs from patterned papers and glue onto scrap card. Snip the designs neatly and use to decorate the house, fixing some to the house with 3D foam pads so they will extend the corners when assembled.
5. Cover an A5 piece of greyboard with a larger panel of green cardstock, folding the edges to the underside neatly and glueing. Fold in all the remaining tabs on the house and glue to assemble, before glueing the base to the green board, ensuring the front and back sections are parallel to the board.
6. Trim, score, strengthen and distress a roof piece from orange card. On one side, cut a hinged aperture to make an opening. Cut, score and assemble an orange chimney and fix to the solid side of the roof using the tabs at the base. Decorate the chimney with more motifs.
7. Cut several 2cm wide strips of purple card. Score along the length, 5mm in from the edge, and add these to the roof to represent eaves, mitring the ends to allow them to sit at 90° to the roof itself. Add strips of black vinyl to decorate. Apply glue to the tabs around the top of the house and fix the roof in place.

TOP TIP
Why not fill the house with sweets for trick or treaters?

YOU WILL NEED:
Old books
Die, circle
Wooden skewer
Binder clips
Alcohol marker, orange
Adhesives: PVA glue, glue stick
Die-cutting machine

METHOD:
1. Use a circle die to cut lots of discs from book pages. Fold each circle in…
Halloween crafts Home decor Home decorations How to Papercraft Papercrafter Revamping Techniques Projects

Whilst this may look like a paper cutting that took hours to create, it really couldn’t be any easier. Our talented designer Corinne Bradd has created 15 templates for you to…
Die cutting Home decor Home decorations How to Papercraft Papercrafter Projects

You Will Need:
Templates or SVG files
Brother ScanNCut SDX1200 (optional)
Strong card
Cardstock, various colours
Jute yarn
PVA glue
Autumnal Display
1. Draw a 25cm wide circle on strong card, then draw a concentric 17cm wide circle…
Home decor Home decorations Papercraft Papercrafter Techniques

Shadow box cards, otherwise known as tunnel greetings or diorama cards, are designed to transport the recipient to picture-perfect backdrops in an instant. In this case, PaperCrafter designer Francesca Vignoli…
Birthday crafting Card making Die cutting How to Stamping Techniques Card Making
NO SPAM
Just pure crafty goodness!
YOU CAN REGISTER WITH US TODAY OR CHECK OUT THE MEMBER BENEFITS YOU CAN GET YOUR HANDS ON

Not only will you receive our amazing newsletters packed with the latest projects, exclusive giveaways and freebies, you’ll also get your hands on all of this...
View the benefits
All of our offers will be delivered straight to your inbox - they’re only a click away!
Show me the next benefit...
Get access to loads of free printables and downloads at your fingertips.
Show me the next benefit...NO SPAM
Just pure crafty goodness!
NO SPAM
Just pure crafty goodness!


