Card making Christmas cards Christmas crafts Decoupage Die cutting How to Papercraft Papercrafter Card Making
Kick-start your Christmas crafting with issue 150’s bonus Enchanted Swan card kit, courtesy of docrafts Papermania.

YOU WILL NEED:
PaperCrafter issue 150 gift, docrafts Papermania Enchanted Swan card kit
Dies, circles
Punch, corner
Adhesives, 3D foam pads
Die-cutting machine
METHOD:

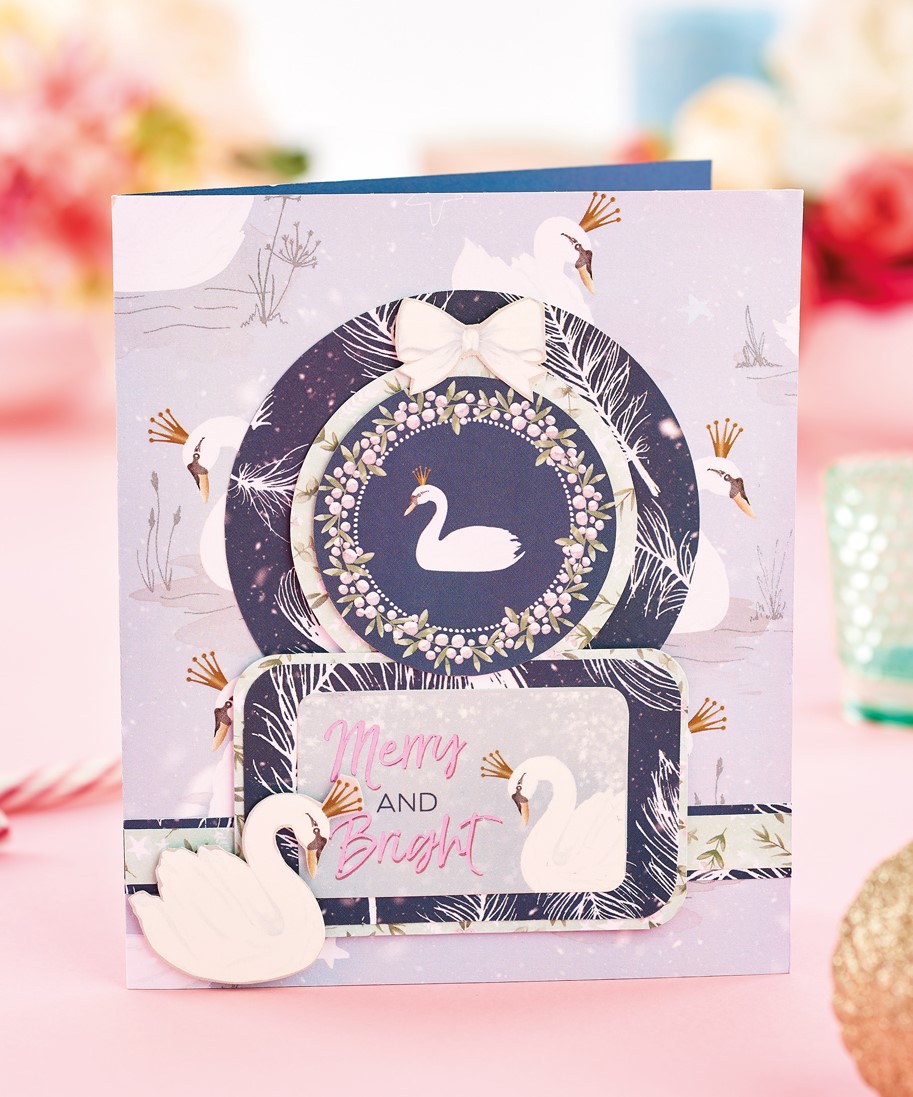
Swan Focal Card
1. Cover a navy blank with grey swan patterned paper. Use circle dies to cut a swan motif from patterned paper, then matt onto green floral and navy feather discs using 3D foam pads. Secure in the top-centre of the card.
2. Cut a 1cm strip of green floral paper and mount onto navy feather paper. Fix across the bottom of the card. Glue a foiled die-cut sentiment onto a 5.5cm by 8.5cm panel of navy feather paper and round off the corners to match the die-cut.
3. Layer onto a 6cm x 9cm piece of green floral paper, then attach to the bottom-centre of the card, tucking the top of the sentiment underneath the layered circles. Add a bow to the top of the circles and a decoupage swan die-cut to the left of the panel.

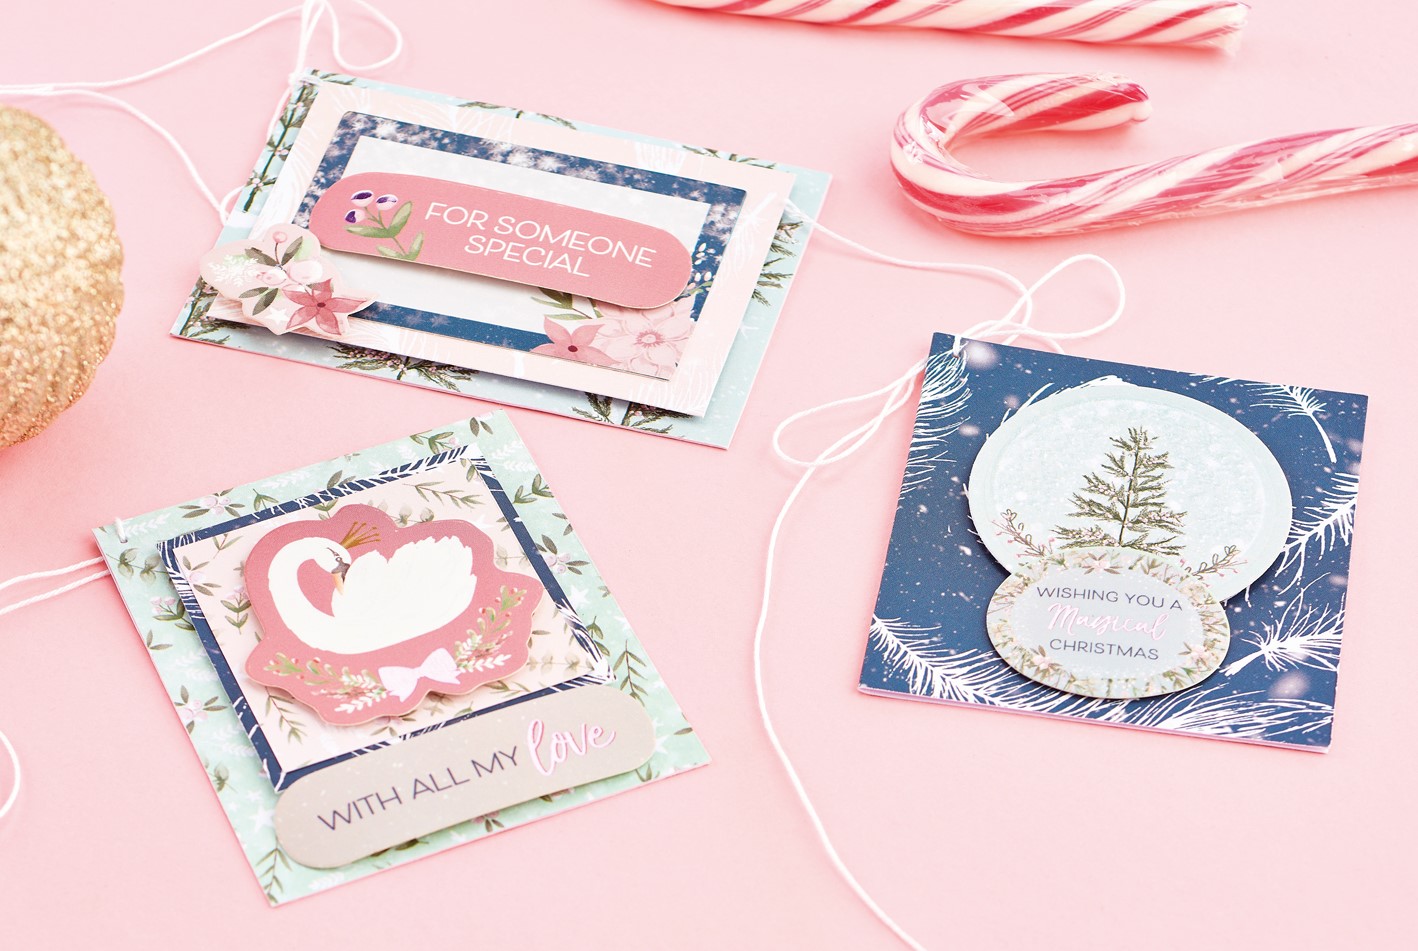
Magical Christmas
Fold an 8cm x 14cm rectangle of navy feather card in half, punch a hole in the top left corner and thread with baker’s twine. Die cut a 5cm wide circle tree motif from patterned paper and fix to the top-centre of the tag with 3D foam pads. Gently curl a die-cut sentiment with your fingers and fix below the tree motif, overlapping by 1cm.
All my love
Fold a 7cm x 16cm rectangle of green floral card in half. With the fold at the top, punch a hole in the top-left corner and thread with baker’s twine. Matt a 5cm square of pink floral paper onto navy feather print to leave a narrow border and place in the top centre of the tag with 3D foam pads. Press out a die-cut swan and sentiment. Fix the swan to the centre of the panel and add the sentiment below with 3D foam pads.
Someone special
Fold a 9.5cm x 14cm piece of green tree paper in half and turn so that the fold is along the top. Punch a small hole in the top-left corner and thread with baker’s twine. Fix a die-cut tag panel onto a 6cm x 8.5cm piece of pink feather paper and place in the centre of the tag with 3D foam pads. Gently curve a sentiment banner and attach to the centre of the tag with 3D foam pads. Use a floral decoupage piece to decorate the bottom-left corner of the tag.

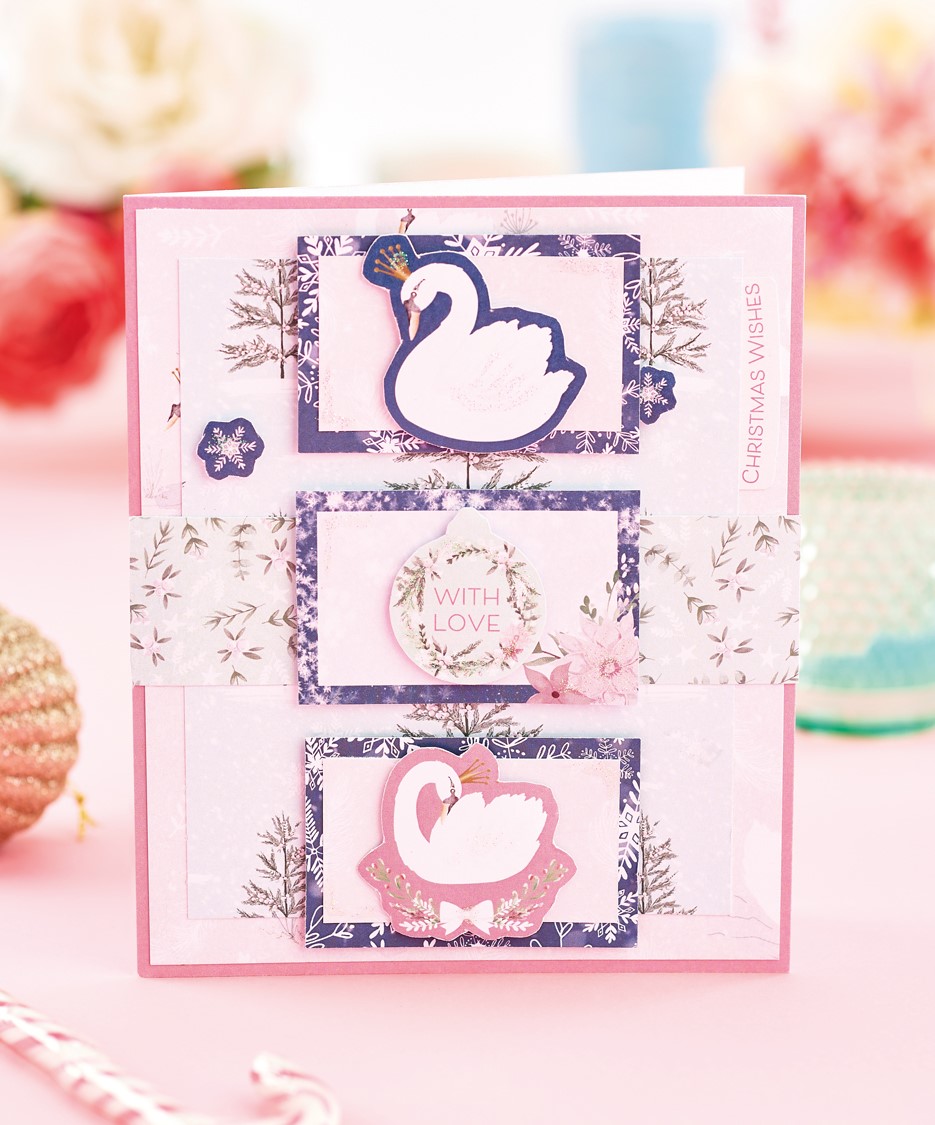
Swan Trio
1. Layer pink patterend paper onto a pink portrait blank. Matt a smaller panel of tree paper on top, then fix a sentiment tab on the right-hand side. Run a strip of leaf paper across the middle.
2. Mount pink patterned paper onto three rectangular panels of navy snowflake paper. Add die-cut swan toppers to two and a sentiment to the remaining one. Adhere to the greeting. Attach navy snowflake toppers with 3D foam pads to finish.

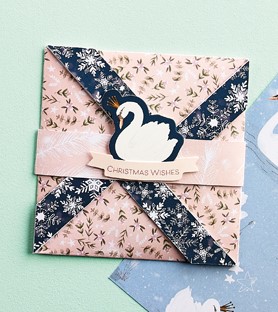
Swan Pinwheel Card
1. Cut floral paper, 21cm square, and mark 8.5cm outwards from each corner in both directions. Score diagonally from one mark to the furthest point on the adjacent edge to create a square panel in the centre and small triangles along each edge. Trim away the small triangles created by the overlapping score lines.
2. Score a line from the tip of each triangle to the right-hand side, keeping the line parallel and 2cm from the edge. Flip the card over and fold in the diagonals before folding the parallels back out. Cover the parallel sections with 2cm wide strips of navy snowflake paper. Fold each section in, following a clockwise direction so that the navy strips overlap.
3. Tuck the final folded section inside the first to secure the card. Cut a 2.5cm x 26cm strip of pink feather paper, wrap loosely around the card and secure the overlap to make a band. Use 3D foam pads to fix a swan motif and sentiment banner to the centre of the band.

YOU WILL NEED:
Old books
Die, circle
Wooden skewer
Binder clips
Alcohol marker, orange
Adhesives: PVA glue, glue stick
Die-cutting machine

METHOD:
1. Use a circle die to cut lots of discs from book pages. Fold each circle in…
Halloween crafts Home decor Home decorations How to Papercraft Papercrafter Revamping Techniques Projects

Whilst this may look like a paper cutting that took hours to create, it really couldn’t be any easier. Our talented designer Corinne Bradd has created 15 templates for you to…
Die cutting Home decor Home decorations How to Papercraft Papercrafter Projects

You Will Need:
Templates or SVG files
Brother ScanNCut SDX1200 (optional)
Strong card
Cardstock, various colours
Jute yarn
PVA glue
Autumnal Display
1. Draw a 25cm wide circle on strong card, then draw a concentric 17cm wide circle…
Home decor Home decorations Papercraft Papercrafter Techniques

Shadow box cards, otherwise known as tunnel greetings or diorama cards, are designed to transport the recipient to picture-perfect backdrops in an instant. In this case, PaperCrafter designer Francesca Vignoli…
Birthday crafting Card making Die cutting How to Stamping Techniques Card Making
NO SPAM
Just pure crafty goodness!
YOU CAN REGISTER WITH US TODAY OR CHECK OUT THE MEMBER BENEFITS YOU CAN GET YOUR HANDS ON

Not only will you receive our amazing newsletters packed with the latest projects, exclusive giveaways and freebies, you’ll also get your hands on all of this...
View the benefits
All of our offers will be delivered straight to your inbox - they’re only a click away!
Show me the next benefit...
Get access to loads of free printables and downloads at your fingertips.
Show me the next benefit...NO SPAM
Just pure crafty goodness!
NO SPAM
Just pure crafty goodness!


