Card making Home decor Home decorations How to Papercraft Papercrafter Quilling Techniques Projects
Dust off your quilling tools and get started on our cacti quilling projects with the help of Elizabeth Moad and our handy template. You’re not just getting one cacti quilling project here, but five stunning makes featuring the humble houseplant.

You will need:
Template
Quilling papers: 3mm wide greens, yellow, pink, oranges; 10mm wide dark orange
Cardstock, various colours
Tools: quilling tool, quilling comb, tweezers, needle quilling tool
Ribbon: orange, white
Adhesives: 3D foam pads, glue

Flowering Cacti
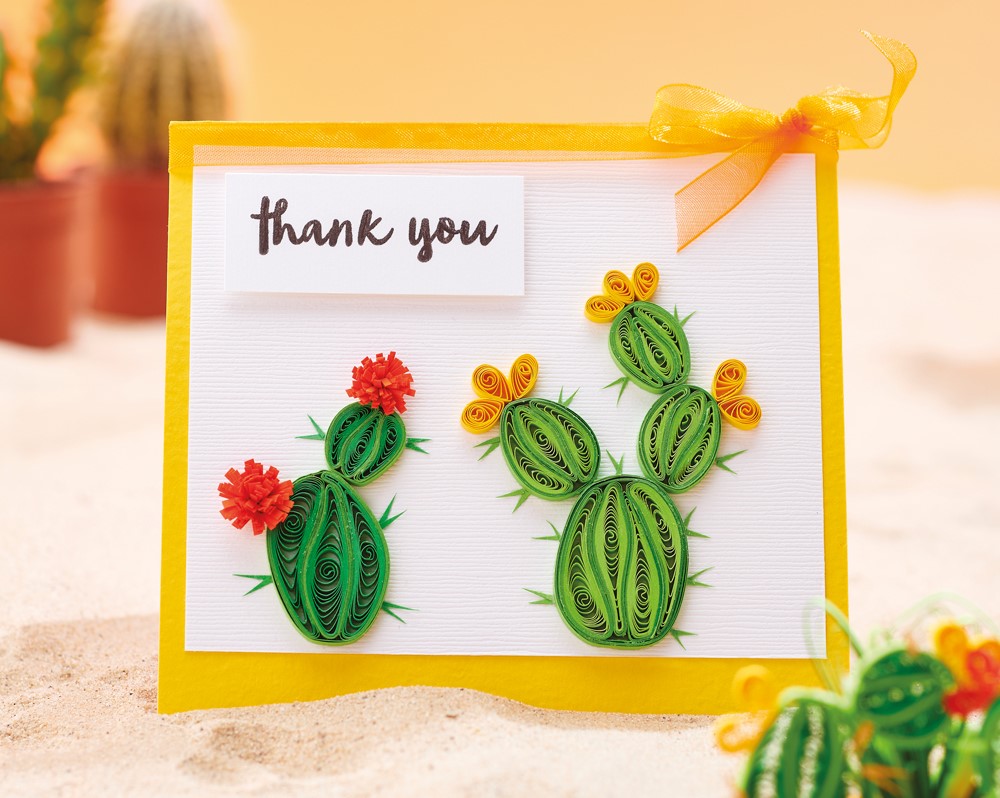
1. Cover the front of a white top-folding blank with yellow card, then layer a smaller white rectangle on top. Tie orange ribbon around the top of the card. Use a quilling tool to coil a 40cm length of 3mm wide green paper into a loose closed coil. Pinch both ends to form an eye shape, then wrap it with dark green paper to give a dark outline. Make three more in this way.
2. Glue the four shapes together and squash them into an oval shape, then wrap with dark green paper. Secure to the white card as the base of a cactus. Make three coils as before, but this time with 20cm lengths and wrap each shape with dark green. Once the three coiled shapes have been glued together, wrap the whole oval shape with dark green paper and glue above the cactus base. Make two more oval shapes in this way and attach as shown.
3. Create loose closed coils from 10cm lengths of 3mm wide yellow paper using a quilling tool. Pinch these into teardrop shapes and glue two sets of three and one set of two around the cactus. Cut very tiny triangles from green paper and glue these to the edge of the cactus for thorns.
4. Make another cactus using two shades of darker green paper to create two oval shapes, one large and one small. Fringe a 12cm strip of 10mm wide dark orange paper with fine scissors. Coil tightly to make a frilly flower and attach to the cactus, then make another one. Write or print ‘Thank you’ and attach to the card with 3D foam pads.

Gift Tag
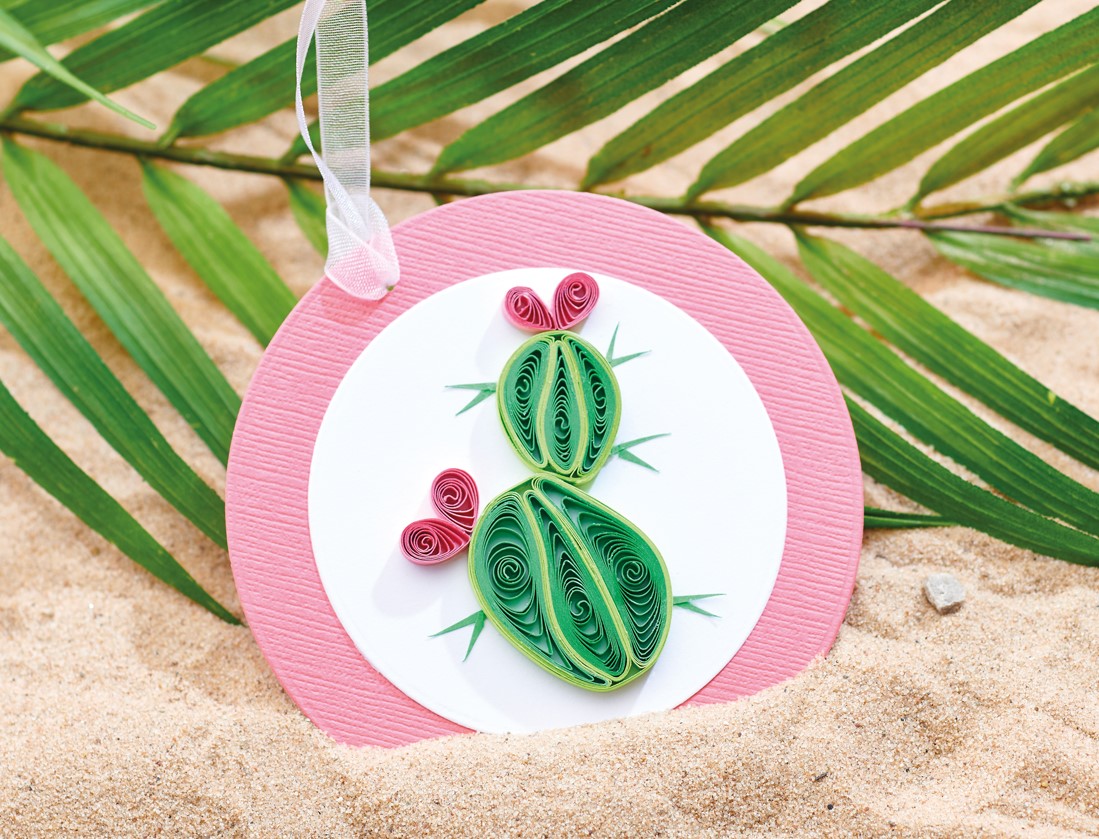
Layer a pink circle with a smaller white circle. Create a cactus in the same way as the card, but with pink flowers. Make a hole at the top of the tag and thread with white ribbon.

3D Cacti
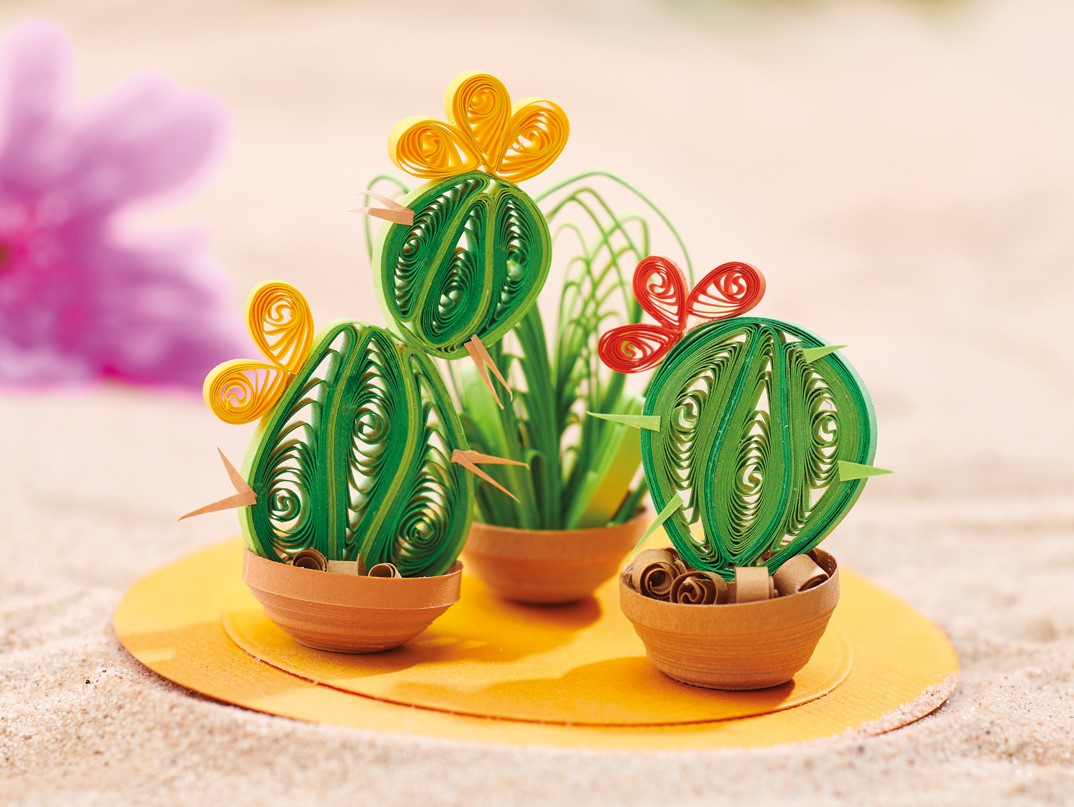
Make up bowls using five lengths of brown paper, by glueing them end to end, then coiling tightly. Carefully push the centre of the coil up to form a dome shape, add glue inside and leave to dry. Form the cacti in the same way as the card, adhering them inside the bowls with small brown coils acting as soil.

Traditional Cactus
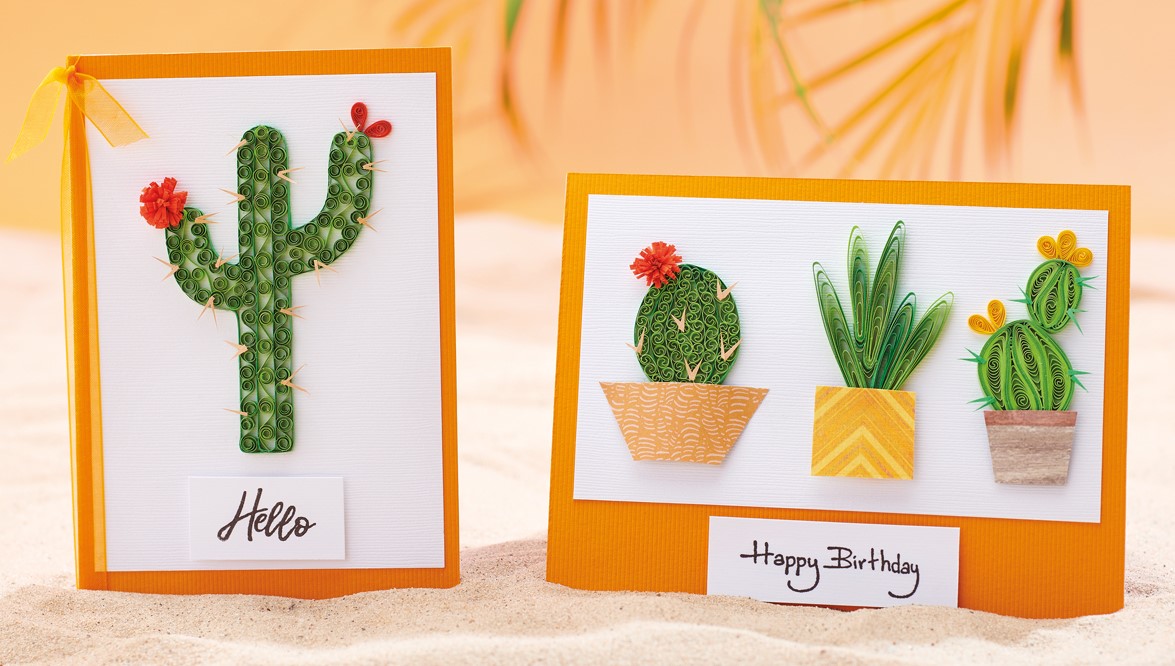
1. Download the cactus template from our website, cut from white card, then glue onto a rectangular white panel. Outline the cactus shape with green paper glued on its edge all around. Adhere two lengths of green to the main stem of the shape to divide it into three areas vertically.
2. Take a 4cm length of green and, using a needle tool, coil until 5mm from the end of the strip. Glue this open coil in the centre of the cactus. Repeat with open coils to fill the centre. Now coil 5cm lengths of darker green at both ends to make ‘S’ shapes. Attach these into the cactus shape either side of the central line of lighter green coils.
3. Fill the ‘arms’ with open coils and ‘S’ coils. Make a fringed flower and two teardrop coils for flowers. Cut brown thorns and glue in place. Mount onto an orange blank, tie ribbon around the spine and add a sentiment.
Spiky Trio
1. Cover the front of a white blank with orange card, then mount a smaller white rectangle on top. Make the right-hand cactus in the same way as for the first greeting with yellow flowers. Trim a pot shape from brown card, then fix it at the base of the cactus with 3D foam pads.
2. Form the central cactus, using a quilling comb to loop green paper around the prongs for the long loop shapes. Make up five of differing lengths and glue together, adding a patterned card pot. Make the remaining cactus using the beehive technique to fill a circle with coiled lengths. Add a frilly flower and pot to finish.
Crafter’s Dictionary: Beehive Quilling
The beehive method of quilling involves a single length of quilling paper made into multiple coils. This is then placed inside the outline of your chosen shape. These designs nicely complement the traditional pinched coils used elsewhere, and can give the appearance of a knitted pattern.

YOU WILL NEED:
Old books
Die, circle
Wooden skewer
Binder clips
Alcohol marker, orange
Adhesives: PVA glue, glue stick
Die-cutting machine

METHOD:
1. Use a circle die to cut lots of discs from book pages. Fold each circle in…
Halloween crafts Home decor Home decorations How to Papercraft Papercrafter Revamping Techniques Projects

Whilst this may look like a paper cutting that took hours to create, it really couldn’t be any easier. Our talented designer Corinne Bradd has created 15 templates for you to…
Die cutting Home decor Home decorations How to Papercraft Papercrafter Projects

You Will Need:
Templates or SVG files
Brother ScanNCut SDX1200 (optional)
Strong card
Cardstock, various colours
Jute yarn
PVA glue
Autumnal Display
1. Draw a 25cm wide circle on strong card, then draw a concentric 17cm wide circle…
Home decor Home decorations Papercraft Papercrafter Techniques

Shadow box cards, otherwise known as tunnel greetings or diorama cards, are designed to transport the recipient to picture-perfect backdrops in an instant. In this case, PaperCrafter designer Francesca Vignoli…
Birthday crafting Card making Die cutting How to Stamping Techniques Card Making
NO SPAM
Just pure crafty goodness!
YOU CAN REGISTER WITH US TODAY OR CHECK OUT THE MEMBER BENEFITS YOU CAN GET YOUR HANDS ON

Not only will you receive our amazing newsletters packed with the latest projects, exclusive giveaways and freebies, you’ll also get your hands on all of this...
View the benefits
All of our offers will be delivered straight to your inbox - they’re only a click away!
Show me the next benefit...
Get access to loads of free printables and downloads at your fingertips.
Show me the next benefit...NO SPAM
Just pure crafty goodness!
NO SPAM
Just pure crafty goodness!


