.png)
Card making Christmas cards Christmas crafts How to Papercraft Stamping Techniques Digi Stamps
Whimsical and sketchy, these downloadables will quirk up your Noël no end!
.png)
Please login to download. Sign in here
Courtesy of Mama Makes, we’re ecstatic to bring you a seasonal selection of digi stamps so you can crack on with your Christmas cards pronto! We know it’s early but it’s a crucial time of year for us crafters. Add these printables to your arsenal, as well as our insider tips below, and you’ll be set for a breezy season of festive cardmaking.
Download and print them
1 Press ‘Click here to download now’ then log in – or register if you don’t currently have an account with us.
2 Click ‘Download now’ and you’ll see the download processing at the bottom of your screen.
3 Open the folder, then right-click on the file and select ‘Print’.
Keep it simple
You don’t have to go overboard with your digi stamps. Sometimes they work perfectly well on their own as Ingrid demonstrates with her ‘Shine Bright’ card. Simply copy and paste the string lights image multiple times on a document until you have six rows, then print out. Colour them in for a simple yet striking effect. To bring your design to life, add sparkle to the light bulbs with a Spectrum Noir’s Sparkle Brush Pen.
Sketchy stamps
You’ll notice that the character motifs in this set have a rustic look to them, so carry this style through by not worrying too much about whether your colouring in is accurate. Part of the charm with these cards is the sketchy and artistic look. For best results, use brush pens and roughly colour in your motifs without staying inside the lines too much. This will give them a soft focus, watercolour appearance.
Finishing touches
There’s a huge range of embellishment options, but Ingrid’s special finishes are worth stealing. To complement the colourful motifs, opt for barely-there extras for subtle sparkle. Scatter on a few iridescent sequins, use white glitter card in the background or add a shimmer to motifs with Spectrum Noir’s Sparkle Brush Pens. You could also try pairing these designs with heat embossing using clear or white powders.
_(1).jpg)
YOU WILL NEED:
Mama Makes Festive Doodle digi stamps
Pens: Kuretake ZIG Real Brush; Spectrum Noir Sparkle Clear Brush
Cardstock, white glitter
Colouring pencils
Sequins, iridescent
Procreate or Photoshop (optional)
Adhesives: 3D foam pads, glue
Magical Christmas
Upload and open the sentiment, robin and Christmas tree digi stamps using a digital software of your choice. Using a 13cm square as a guide, position and assemble the sentiment and motifs inside the square. Create small corner cut lines to guide you when cutting out the square. Print out the image, cut to size and colour in with brush pens and colouring pencils, not worrying too much about staying within the lines. Adhere the panel onto a white blank and add a touch of shimmer to the lights, hat trim and star with the Spectrum Noir Sparkle Clear Brush Pen.
Shine Bright
Upload and open the digi stamps using a digital software of your choice. Create a 21cm x 30cm file and use ruler guides to separate the canvas vertically and again in half horizontally so that you have four 10.5cm x 15cm rectangles. Place the sentiment and the string of lights inside the top-right rectangle, then copy and paste the string lights until you have six rows. Arrange the lights, alternating the position of the bulbs as you go. The lights will be hanging over the edges so use the ‘clipping mask’ function to make them fit inside the rectangle or simply erase the ends. Print out the image, cut in half horizontally, score down the centre and colour in with brush pens. Add a touch of shimmer to the lights using the Spectrum Noir Sparkle Clear Brush Pen. Fold the card and crease along the fold.
Merry Robin
Upload and open the digi stamps using a digital software of your choice. Create a 21cm x 30cm file and use ruler guides to separate the canvas vertically and again in half horizontally so that you have four 10.5cm x 15cm rectangles. Place the sentiment, string of lights and the bird inside one of the rectangles, then arrange the bird on top of the string lights with the sentiment below. The lights will be hanging over the edges so use the ‘clipping mask’ function to make them fit inside the rectangle or simply erase the ends. Print out the image, snip to 10.5cm x 15cm and colour in using brush pens and colouring pencils. Add a touch of shimmer to the string lights with the Spectrum Noir Sparkle Clear Brush Pen. Trim around the lights and the bird. Cover a white 10.5cm x 15cm blank with white glitter card, then adhere the printed panel to the bottom half using 3D foam pads. Embellish with sequins.
Character Duo
Upload and open the digi stamps using a digital software of your choice. Make a 21cm x 30cm file and use ruler guides to separate the canvas vertically and again in half horizontally so that you have four 10.5cm x 15cm rectangles. Place the sentiment and the characters in the centre of one of the rectangles and rotate it by 90° to create a landscape card. Arrange them as you wish. Print out the image, colour in the characters with brush pens and colouring pencils, then trim to the size. Matt onto a white 10.5cm x 15cm white blank. Embellish with sequins and add a touch of shimmer to the tree in the jumper and the hat trims with the Spectrum Noir Sparkle Clear Brush Pen.
Festive Pals
Upload and open the digi stamps using a digital software of your choice. Create a 21cm x 30cm file and use ruler guides to separate the canvas horizontally. Place the sentiment, string lights and four characters in the centre of the top half, then arrange the motifs to your liking. Print out the image and trim in half horizontally. Colour in the motifs with brush pens and colouring pencils, then add a touch of shimmer using the Spectrum Noir Sparkle Clear Brush Pen. Snip around the top half of the motifs and cut out the sentiment into a banner shape. Trim below the images. Create a blank by cutting white card to 18cm square, then score in half. Snip and adhere a slightly smaller panel of white glitter card to the front. Glue the prepared panel on top with 3D foam pads. Adhere the sentiment to the bottom-right corner.

Download our free digi stamps and get your summer crafting off to a sizzling start. Colette Smith has drawn up 12 exclusive designs just for you – expect classic summer holiday…

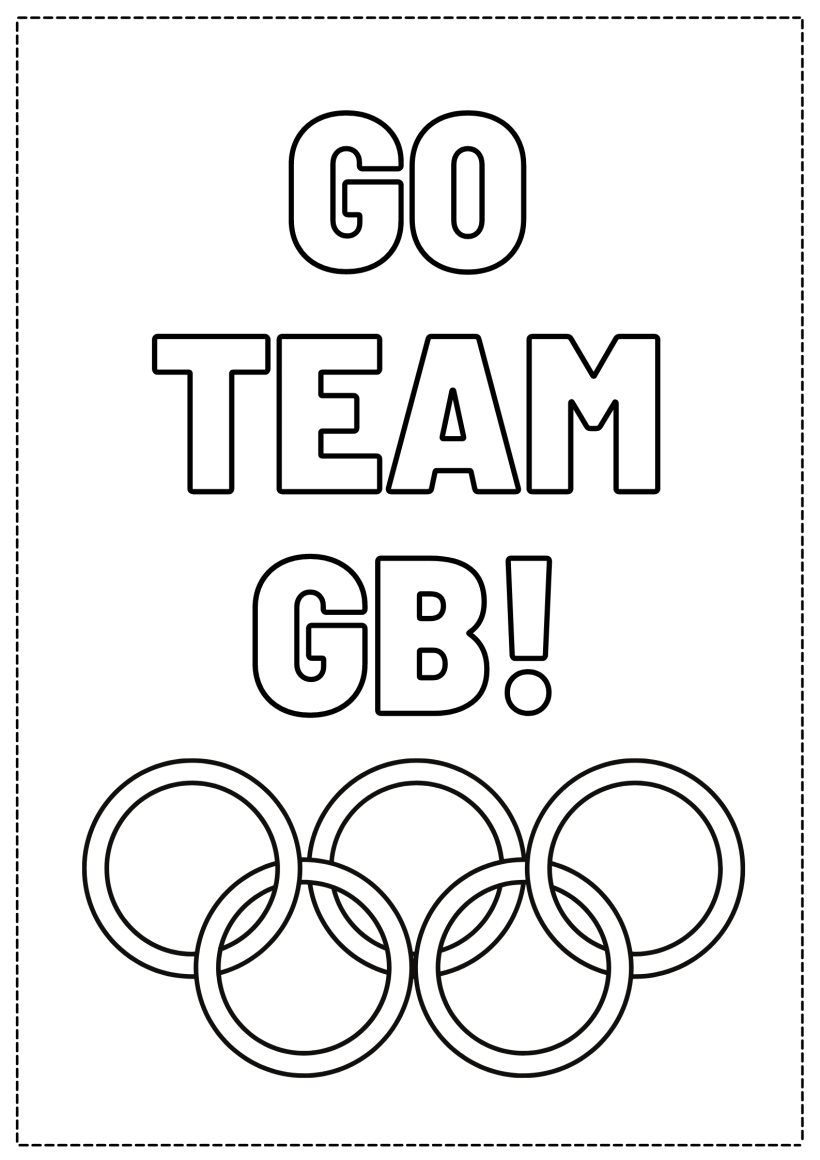
Download our printable, grab your favourite pens or paints, then start colouring! This printable is perfect for crafters young and old, and you can go as simple or as extravagant…

To download our templates, simply click ‘Download Now!’ and it will open in your browser. Why not send us a picture of your project once you’re done? For your chance to be…
Home decor Home decorations Papercraft Papercrafter Party makes Templates

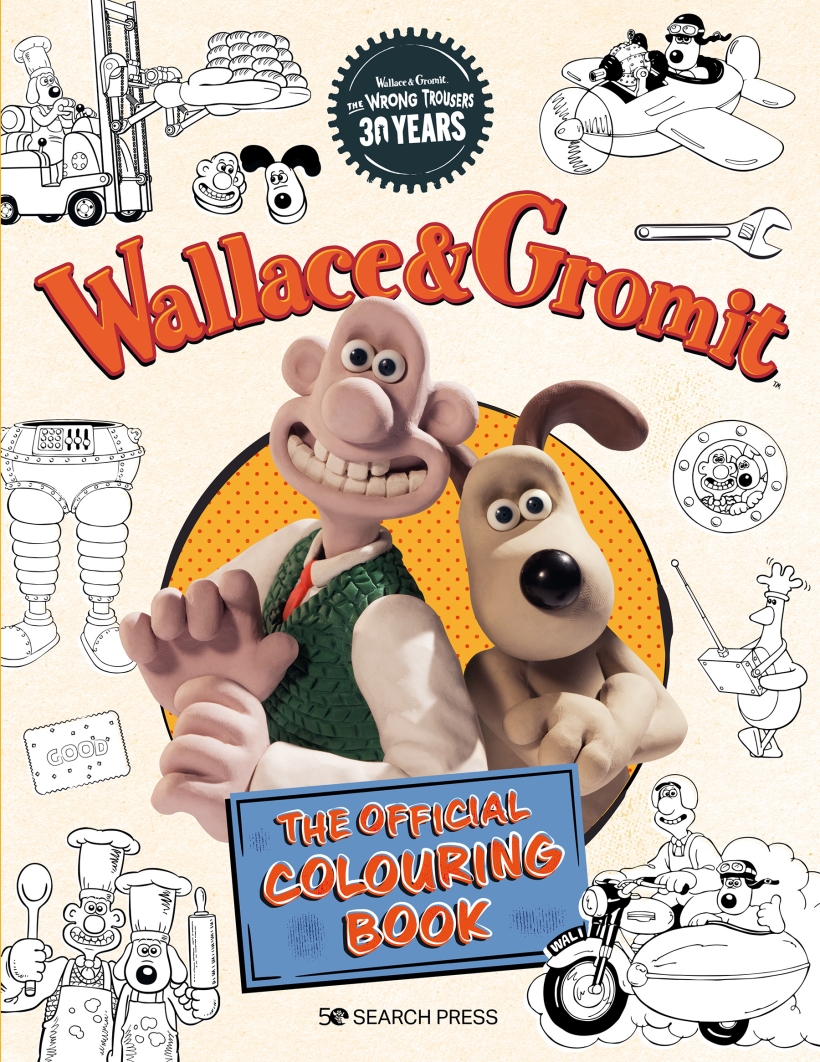
There’s nothing quite so relaxing, or quite so fun, as settling down with a good colouring page. It’s even better if that colouring page happens to include Wallace & Gromit. This duo…
NO SPAM
Just pure crafty goodness!
YOU CAN REGISTER WITH US TODAY OR CHECK OUT THE MEMBER BENEFITS YOU CAN GET YOUR HANDS ON

Not only will you receive our amazing newsletters packed with the latest projects, exclusive giveaways and freebies, you’ll also get your hands on all of this...
View the benefits
All of our offers will be delivered straight to your inbox - they’re only a click away!
Show me the next benefit...
Get access to loads of free printables and downloads at your fingertips.
Show me the next benefit...NO SPAM
Just pure crafty goodness!


