.png)
Birthday crafting Card making How to Papercraft Papercrafter Party makes Stamping Techniques Digi Stamps
34 exclusive printables to get excited about
.png)
Please login to download. Sign in here
You scream, I scream, we all scream for Hunkydory freebies. That’s exactly what you’ll get in this issue’s bonus printable pack… 34 exclusive digi stamps to take your summer crafting up a notch. Think retro camper vans, fairground rides, a nautical beach hut and ice creams aplenty – yum! For tips and tricks on how to use your summer-lovin’ selection, we share Kitty Day’s secrets below.
Download and print them
1 Press ‘Click here to download now’ then log in – or register if you don’t currently have an account with us.
2 Click ‘Download now’ and you’ll see the download processing at the bottom of your screen.
3 Open the folder, then right-click on the file and select ‘Print’.
Bold backgrounds
Backing papers are a foolproof way to elevate your backgrounds but why not mix it up a little? Kitty Day has used distress oxide inks for a seamlessly blended backdrop on her bicycle card opposite. This is a great technique if you really want to make your digi stamps pop. Otherwise, why not use your digi stamps themselves as background options as Kitty demonstrates on her ice cream birthday card? It’s a surefire way to make them the star of the show!
Print perfect
It’s always worth taking a moment to consider which papers will complement your digi stamps. These Hunkydory motifs are calling out for traditional summer prints… think cutesy polka dots, candy-coloured stripes and classic gingham. Layer up onto contrasting card to make sure the patterns pop, then colour in your digi stamps using coordinating colours to match the prints for a cohesive look. This is a good chance to use up any papers you might find in your stash!
Cut & create
The great thing about digi stamps is that you can customise them to suit the design you have in mind. Think outside the box a little to see which effects you can come up with. For Kitty’s ‘Congratulations’ card opposite, print out the cocktail motif twice and colour in each of the glasses on only one panel. Colour in the middle three on the other piece, cut them out and layer them onto the first panel with 3D foam pads to add varying heights.
.jpg)
YOU WILL NEED:
Hunkydory Summer Fun digi stamps
Dies: My Favorite Things Die-namics Fluffy Clouds; circles, stitched circles, grass border
Ink pads, Ranger Distress Oxide Peacock Feathers, Cracked Pistachio
Patterned Papers
Alcohol Markers
Cardstock: various colours, silver glitter
Embellishments: ribbon, lace, pearls, gems, bubbles
Ink blending tool
Adhesives: 3D foam pads, glue
Die-cutting machine
Cocktail Party
Cover a white blank with pink gingham paper. Print out the cocktail digi stamp twice. Colour in each of the glasses on one piece, then colour the middle three on the other. Cut out the three glasses and attach them onto the other panel with 3D foam pads. Mount onto silver glitter card, then blue. Add a die-cut border to the base of the panel. Secure a strip of glitter card along the bottom of the greeting, then add a sentiment on top. Finish with pearls.
Ice Cream Van
Mount heart paper onto yellow card, then green. Wrap lace and ribbons around the middle. Layer onto a white blank. Print out the ice cream van digi stamp and colour in. Trim into a rectangle, then mount onto yellow and green card before adhering to the greeting with 3D foam pads sop that it extends the top edge. Add gems to each corner. Print out an ice cream, colour in and cut out. Fix to the left-hand side.
Birthday Bike Ride
Blend turquoise distress oxide ink onto a white blank, releasing some of the pressure applied as you work your way down the panel. Apply green ink onto a grassy border die-cut and run along the bottom of the greeting. Add three die-cut clouds and lightly add some colour with a blue alcohol marker. Print out the bike digi stamp, colour in and cut out. Attach to the right side of the card, trimming off the excess. Add a stamped sentiment and gems to finish.
Nautical Beach Hut
Layer red spotty paper onto peach card, then matt onto a white blank. Print out the beach hut digi stamp and colour in with alcohol markers. Trim into a square panel and mount onto peach, then blue card. Fix to the greeting with 3D foam pads. Add a stamped sentiment and pearls to finish.
Bird House
Layer blue check paper onto lemon card and mount onto a white blank. Attach ribbon onto a strip of white card and run along the middle. Tie a ribbon bow and glue on the right. Print out the bird house digi stamp and colour in. Snip into a square and mount onto lemon card before attaching to the left-hand side of the greeting. Layer a sentiment onto lemon card and secure. Add adhesive pearls to finish.
Toucan Love
Create a white circular shaped blank using a circle die. Die cut blue polka dot paper with a smaller circle die, mount onto a larger white circle and glue to the blank. Attach a strip of pink card across the middle. Apply blue ink onto a smaller white stitched circle and glue in place. Print out the toucan digi stamp, colour in and cut out. Attach with 3D foam pads. Add a ribbon bow with a gem. Attach a printed sentiment and pearls to complete.
Ice Cream Background
Print out the ice cream digi stamps and colour in each motif with alcohol markers. Mount the panel onto pink, then peach card. Attach gingham ribbon along the top, then matt onto a white blank. Finish with a sentiment and gems.

Download our free digi stamps and get your summer crafting off to a sizzling start. Colette Smith has drawn up 12 exclusive designs just for you – expect classic summer holiday…

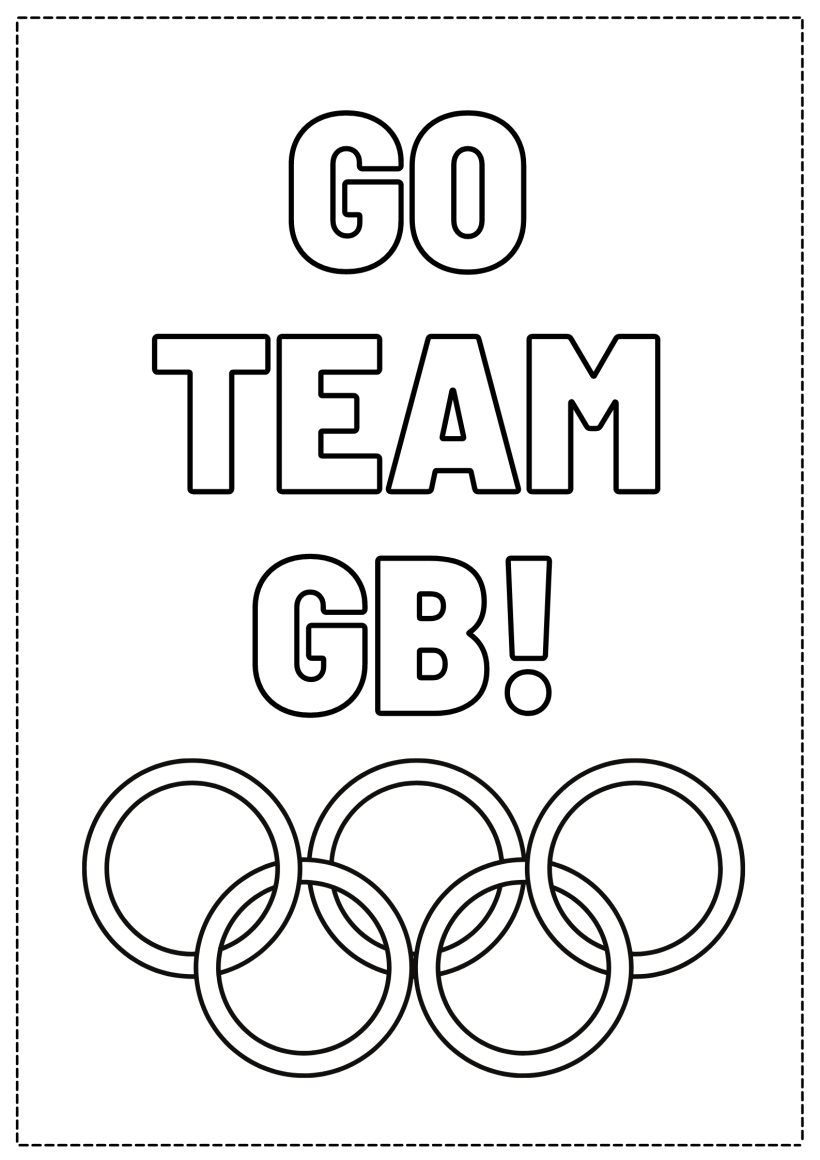
Download our printable, grab your favourite pens or paints, then start colouring! This printable is perfect for crafters young and old, and you can go as simple or as extravagant…

To download our templates, simply click ‘Download Now!’ and it will open in your browser. Why not send us a picture of your project once you’re done? For your chance to be…
Home decor Home decorations Papercraft Papercrafter Party makes Templates

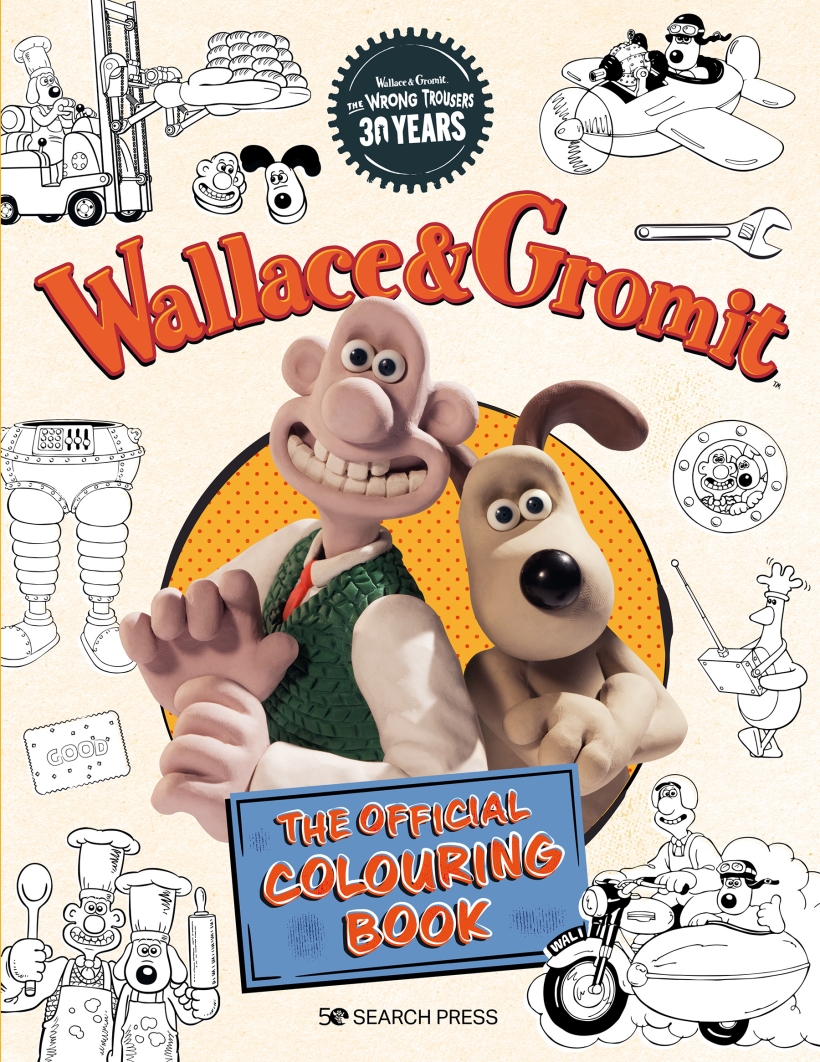
There’s nothing quite so relaxing, or quite so fun, as settling down with a good colouring page. It’s even better if that colouring page happens to include Wallace & Gromit. This duo…
NO SPAM
Just pure crafty goodness!
YOU CAN REGISTER WITH US TODAY OR CHECK OUT THE MEMBER BENEFITS YOU CAN GET YOUR HANDS ON

Not only will you receive our amazing newsletters packed with the latest projects, exclusive giveaways and freebies, you’ll also get your hands on all of this...
View the benefits
All of our offers will be delivered straight to your inbox - they’re only a click away!
Show me the next benefit...
Get access to loads of free printables and downloads at your fingertips.
Show me the next benefit...NO SPAM
Just pure crafty goodness!


