
Because life’s better when you’re growing and pruning!

Please login to download. Sign in here
Our gardens are havens: great for keeping us busy and even greater for letting us kick back and enjoy the beautiful surroundings. That’s exactly what Jane Farnham has captured with these all-new and exclusive papers. You’ve got the tools – watering cans, rakes, gardening gloves, trowels et al – then the fruits of your labour in blooming planters and brimming greenhouses. Here are some project ideas to get you on your way…
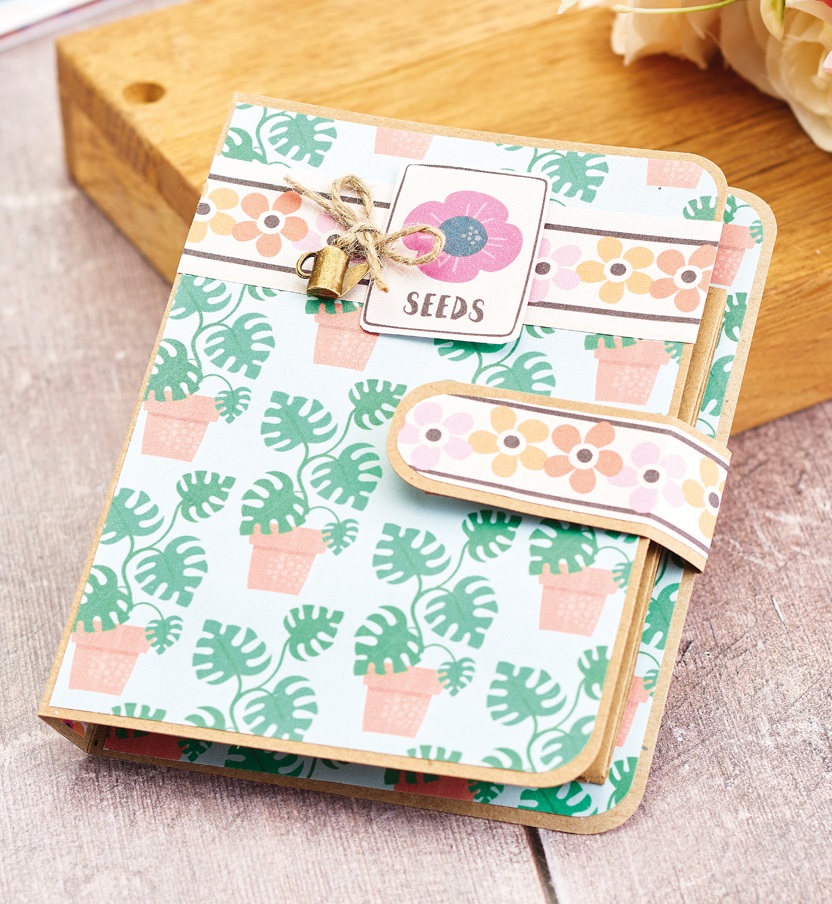
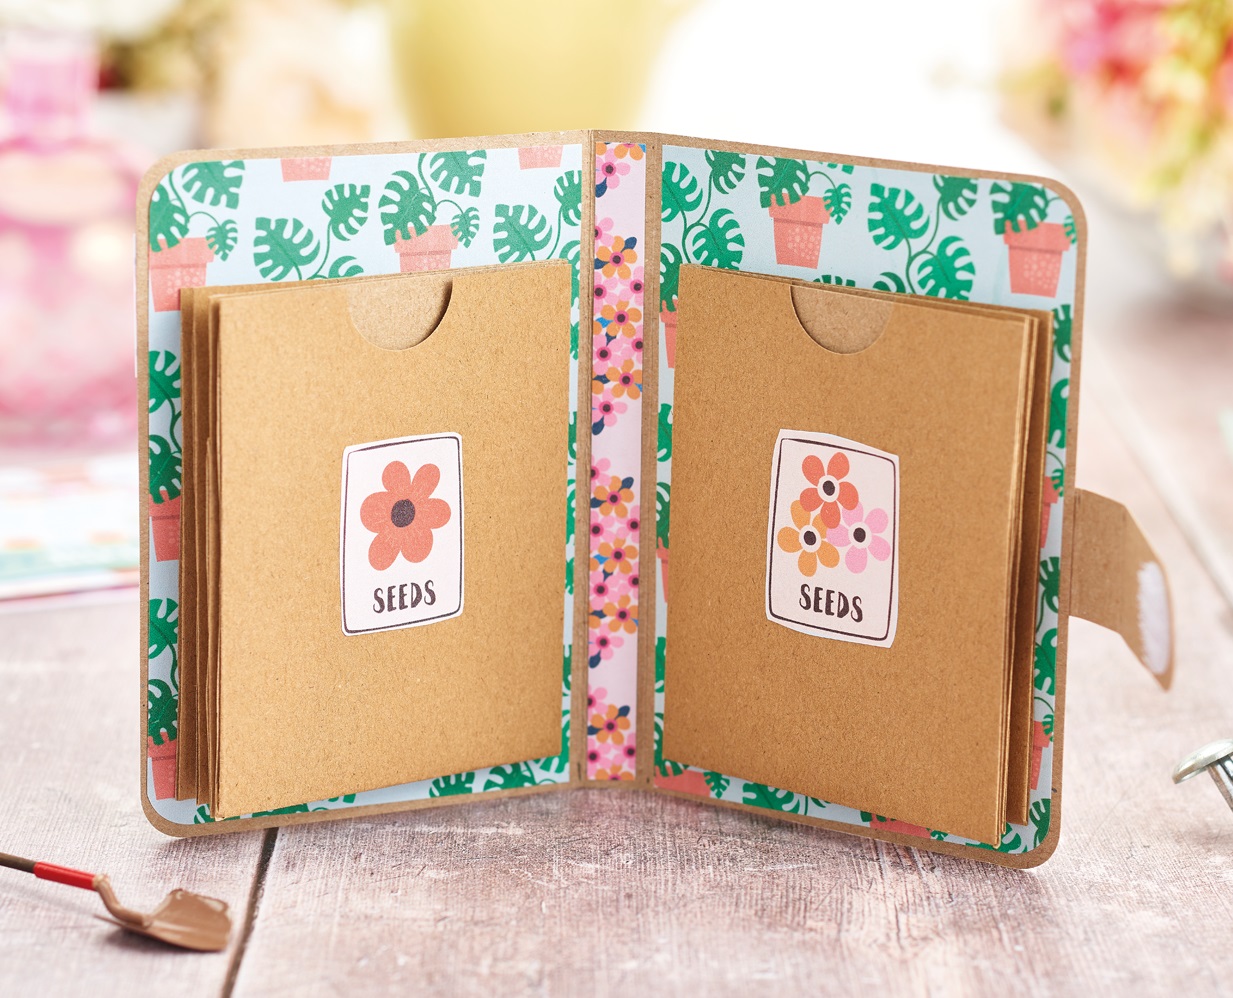
DIY Seed Packet Holder
1. Trim kraft card to 14cm x 21.5cm, then score down from the long side at 10cm and 11.5cm. Valley fold the score lines and round off the corners with a punch. Cut four pieces of plant paper, 9.5cm x 13.5cm, round off the corners, then stick to the front and back panels.
2. Adhere a flower border towards the top of the front panel. Cut out a seed packet and fix on top with 3D foam pads, then add a watering can charm next to it, threaded with jute and tied in a bow.
3. Cut several sheets of kraft card to 9.5cm x 21cm, fold in half, then punch a semicircle out of the top. Score and fold 5mm down each side and adhere to create pockets. Fix one edge of each pocket to the inside of the holder.
4. Snip kraft card to 2.5cm x 9cm, round off the corners on one end, then score and fold at 5cm and 6.5cm. Matt with flower border paper and stick centrally to the back panel. Attach the other end to the front panel with a Velcro dot.
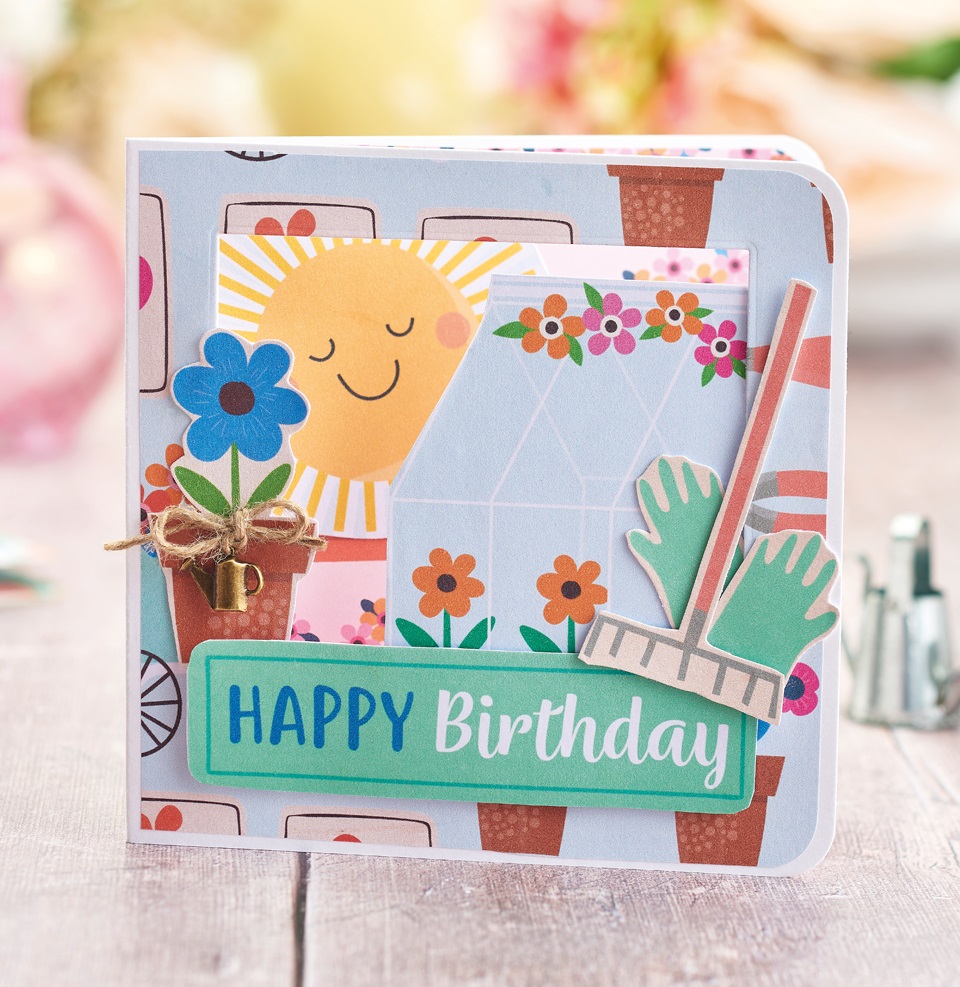
Greenhouse Aperture Card
1. Create a 13.5cm square white blank. Round off the corners on the right side with a punch. Trim seed packet paper to 13cm square, round off the same two corners, then adhere on top.
2. Die cut a 10cm square through the front and fix a contrasting paper inside. Cut out our sun and secure inside, then trim a greenhouse and attach behind the aperture with 3D foam pads. Add our ‘Happy birthday’ sentiment across the bottom with 3D foam pads.
3. Snip gardening gloves and a rake, then attach on the right-hand side with 3D foam pads. Trim a plant pot and attach on the left with 3D foam pads. Add a watering can charm to it,
threaded with jute and tied in a bow.
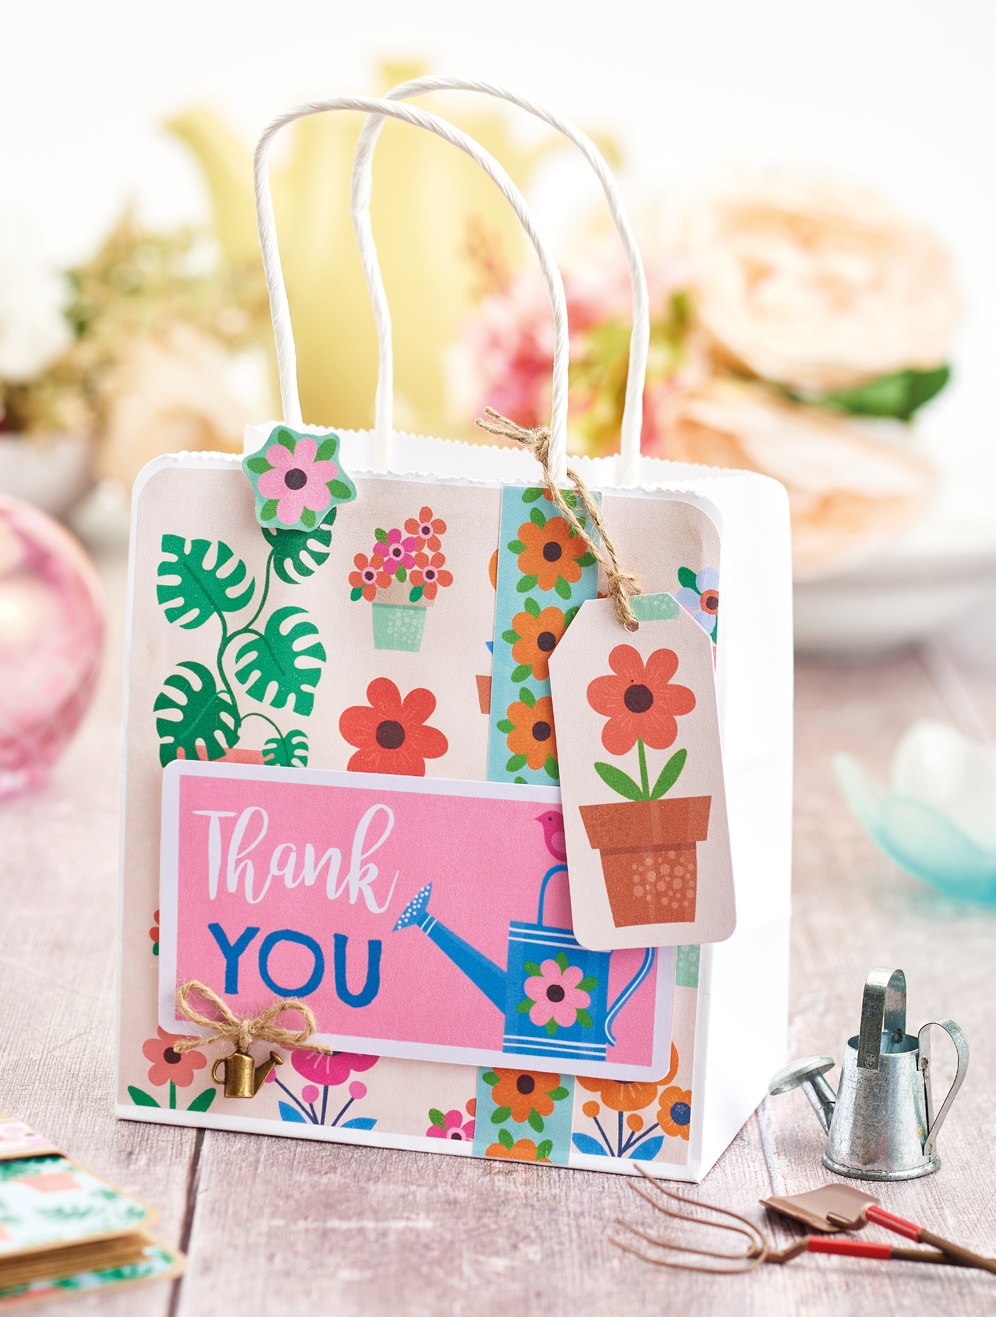
Gardening Gift Bag
1. Round off the top corners of a white gift bag with a punch. Trim our plant paper to size, round off the top corners, then adhere to the front. Fix a flower border down the right-hand side. Cut out a flower, then attach to the handle on the left with 3D foam pads.
2. Create a tag from plant pot paper and punch a hole through the top. Thread with jute, then tie to the handle on the right. Attach one of our large sentiments towards the bottom with
3D foam pads. Thread a watering can charm with jute and tie in a bow, then secure in place.
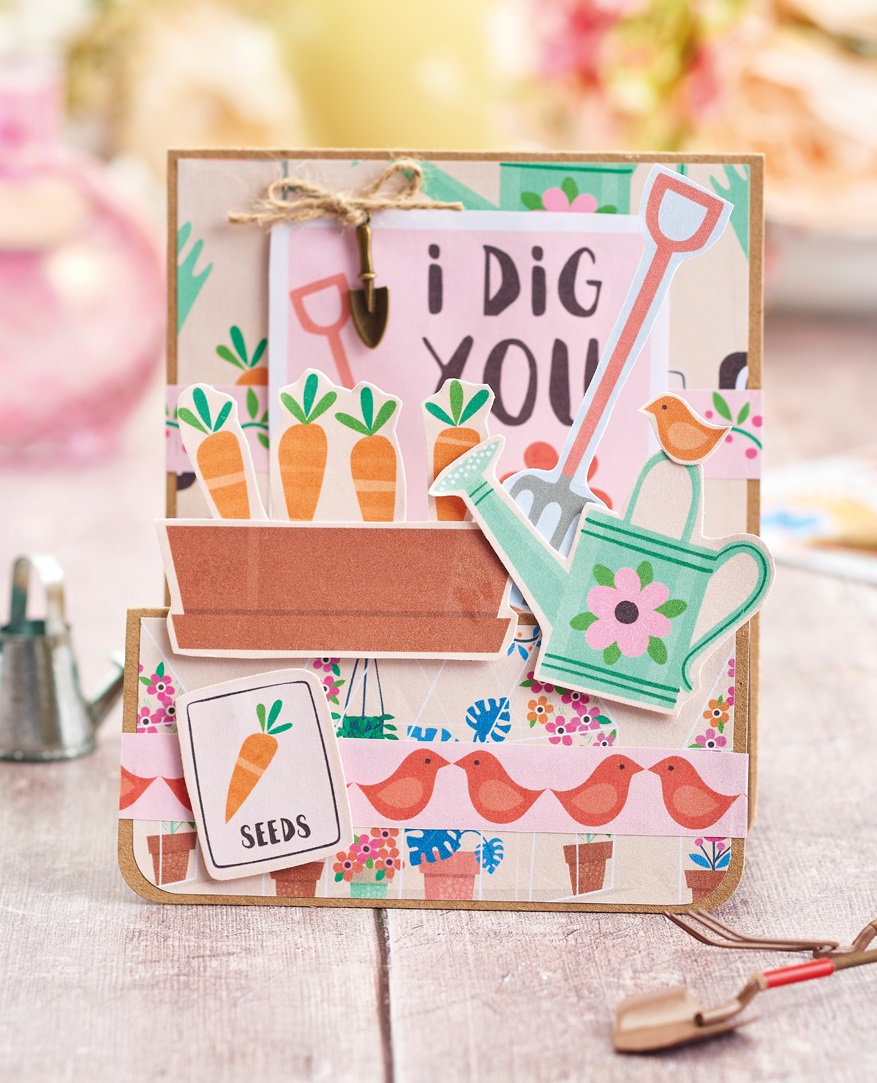
Gardening Stepper Card
1. Create a 12.5cm x 14.5cm top-folding kraft blank. Trim more kraft card, 12.5cm x 13cm, then score down from the long side at 6cm and 12cm. Fix the flap to the front panel of the
blank. Mountain fold the other score line to create a stepper card. Round off the bottom corners with a punch.
2. Adhere our watering can paper, 12cm x 14cm, to the back panel. Add a floral border across the centre, then stick a large sentiment on top. Thread a trowel charm with jute tied in a bow, then fix in the top corner.
3. Trim two contrasting papers, 5.5cm x 12cm, then stick one to the central panel. Round off the bottom corners of the other piece and fix to the front. Add a bird border, then a seed
packet at an angle with 3D foam pads. Snip a watering can, bird, fork, pot and carrots, then adhere.
Loving our free papers? We’ve got lots more for you to enjoy.

Download our free digi stamps and get your summer crafting off to a sizzling start. Colette Smith has drawn up 12 exclusive designs just for you – expect classic summer holiday…
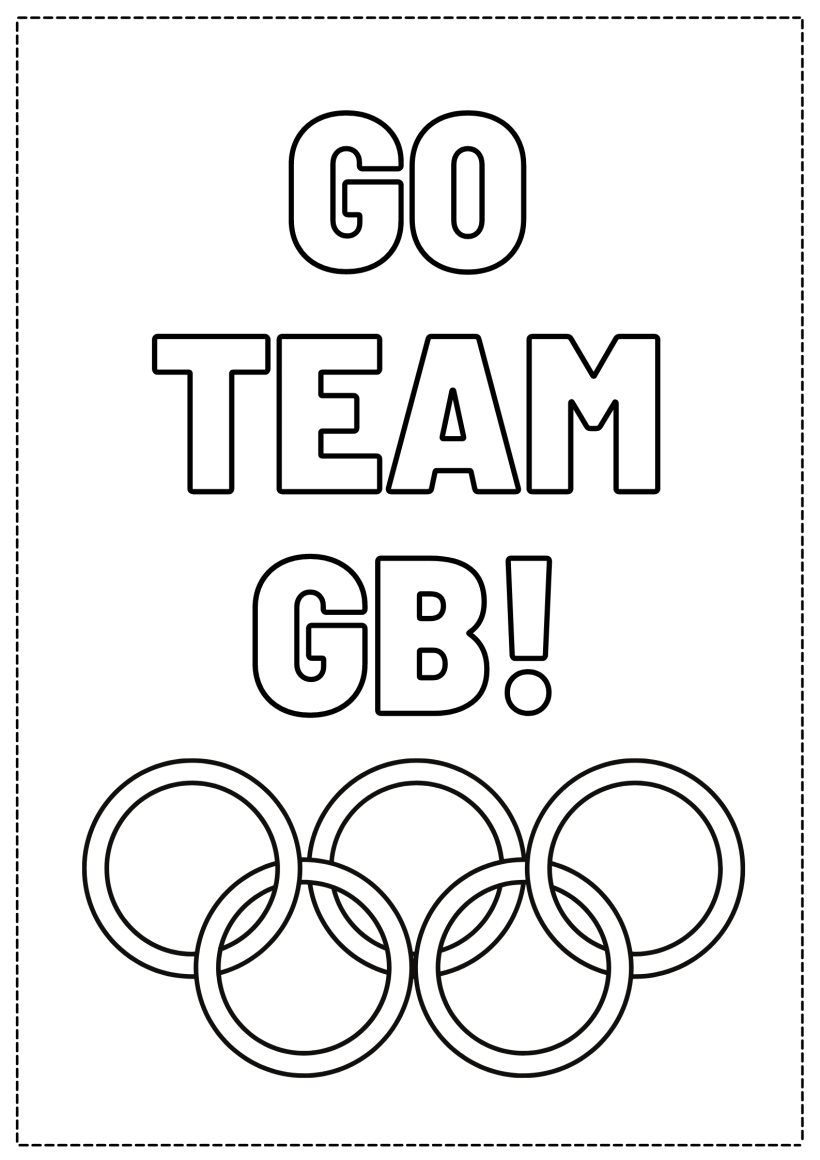
Download our printable, grab your favourite pens or paints, then start colouring! This printable is perfect for crafters young and old, and you can go as simple or as extravagant…
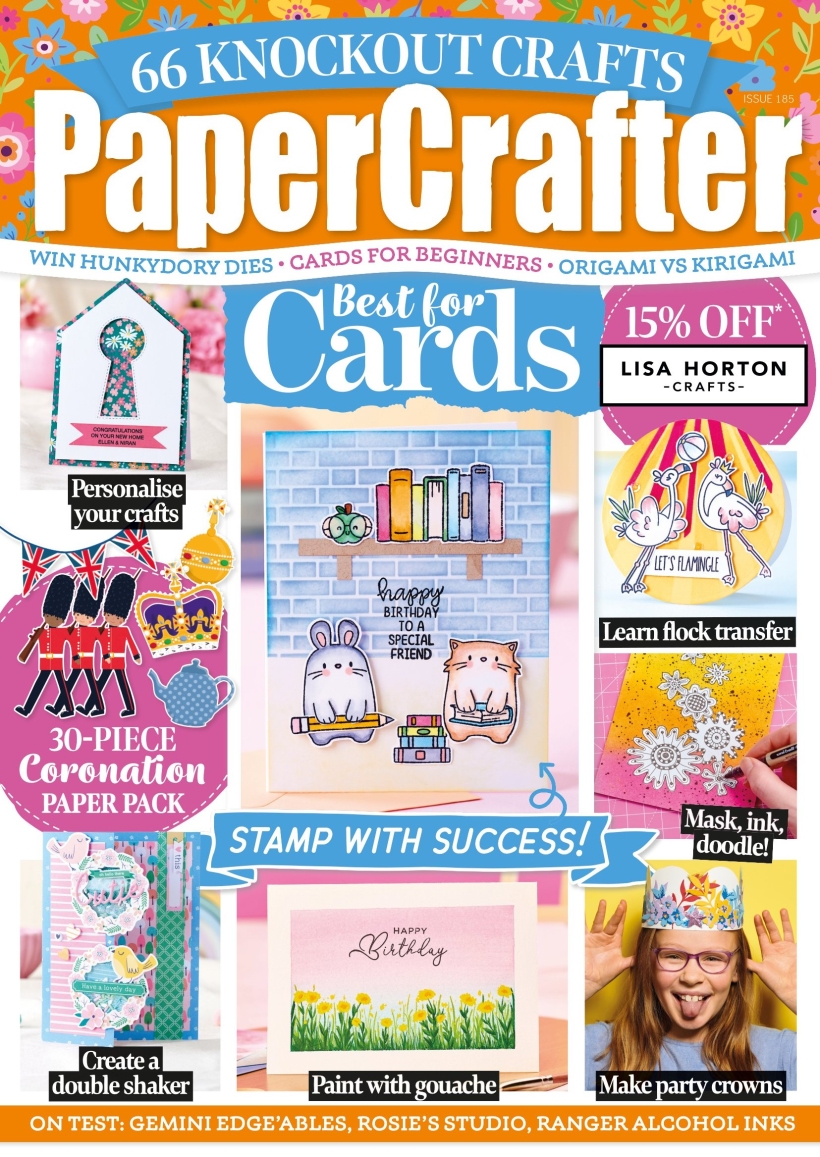
To download our templates, simply click ‘Download Now!’ and it will open in your browser. Why not send us a picture of your project once you’re done? For your chance to be…
Home decor Home decorations Papercraft Papercrafter Party makes Templates
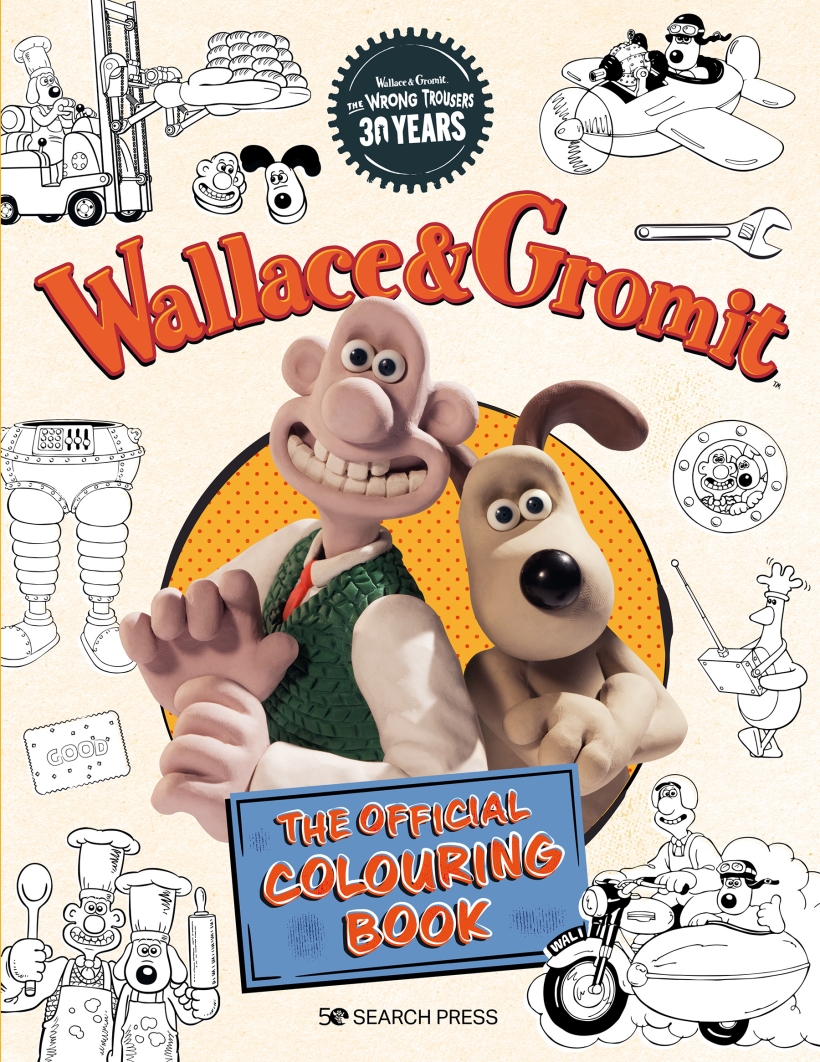
There’s nothing quite so relaxing, or quite so fun, as settling down with a good colouring page. It’s even better if that colouring page happens to include Wallace & Gromit. This duo…
NO SPAM
Just pure crafty goodness!
YOU CAN REGISTER WITH US TODAY OR CHECK OUT THE MEMBER BENEFITS YOU CAN GET YOUR HANDS ON

Not only will you receive our amazing newsletters packed with the latest projects, exclusive giveaways and freebies, you’ll also get your hands on all of this...
View the benefits
All of our offers will be delivered straight to your inbox - they’re only a click away!
Show me the next benefit...
Get access to loads of free printables and downloads at your fingertips.
Show me the next benefit...NO SPAM
Just pure crafty goodness!


